

How To Repair Lightning Cable

If your iPhone 5c won't charge, the problem could be 1 of two things; the bombardment or the Lightning dock itself. If y'all're experiencing other symptoms such as headphone jack issues, or dock accessories not working when plugged in, the Lightning dock is more than likely the culprit. Luckily, a DIY repair to supervene upon the Lightning dock isn't too time or labor-intensive, and it'll cost you a fraction of what a new iPhone would!
What you need to replace an iPhone 5c dock assembly
You'll demand some tools and parts in order to repair your iPhone 5c. iMore recommends using only quality and genuine parts from a reputable supplier similar iFixYouri. They have quality parts, tools, and much more for all your repair needs.
- Replacement Lightning dock associates
- Suction loving cup
- five-point security screwdriver
- Standard #000 Phillips screwdriver
- Spudger tool
- Razor blade
- iSesamo Opening tool (not necessary but awesome for prying upwards cables and getting under agglutinative)
1. Power off your iPhone 5c

Earlier performing any repair on whatever iPhone, iPad, or iPod bear on you should always remember to power it off. But concur down on the Ability button until yous meet Slide to Ability off. 1 yous're sure your iPhone is turned off, proceed to the side by side section.
two. Remove the two security screws on both sides of the dock connector

At that place are two security screws that secure the screen to the frame and they sit on each side of the dock connector. Use your 5-point security screwdriver to remove them. They are both the aforementioned size and then it'southward okay if you mix them up.
3. Remove the display assembly
- Place your suction cup slightly in a higher place the Home button assembly and secure it to the screen.

- Holding the iPhone in place with ane mitt, gently pull upwards on the suction loving cup until yous complimentary the bottom of the screen. You should at present be able to employ your fingers to slowly raise upwards the screen and expose where the front associates is connected to the logic board.
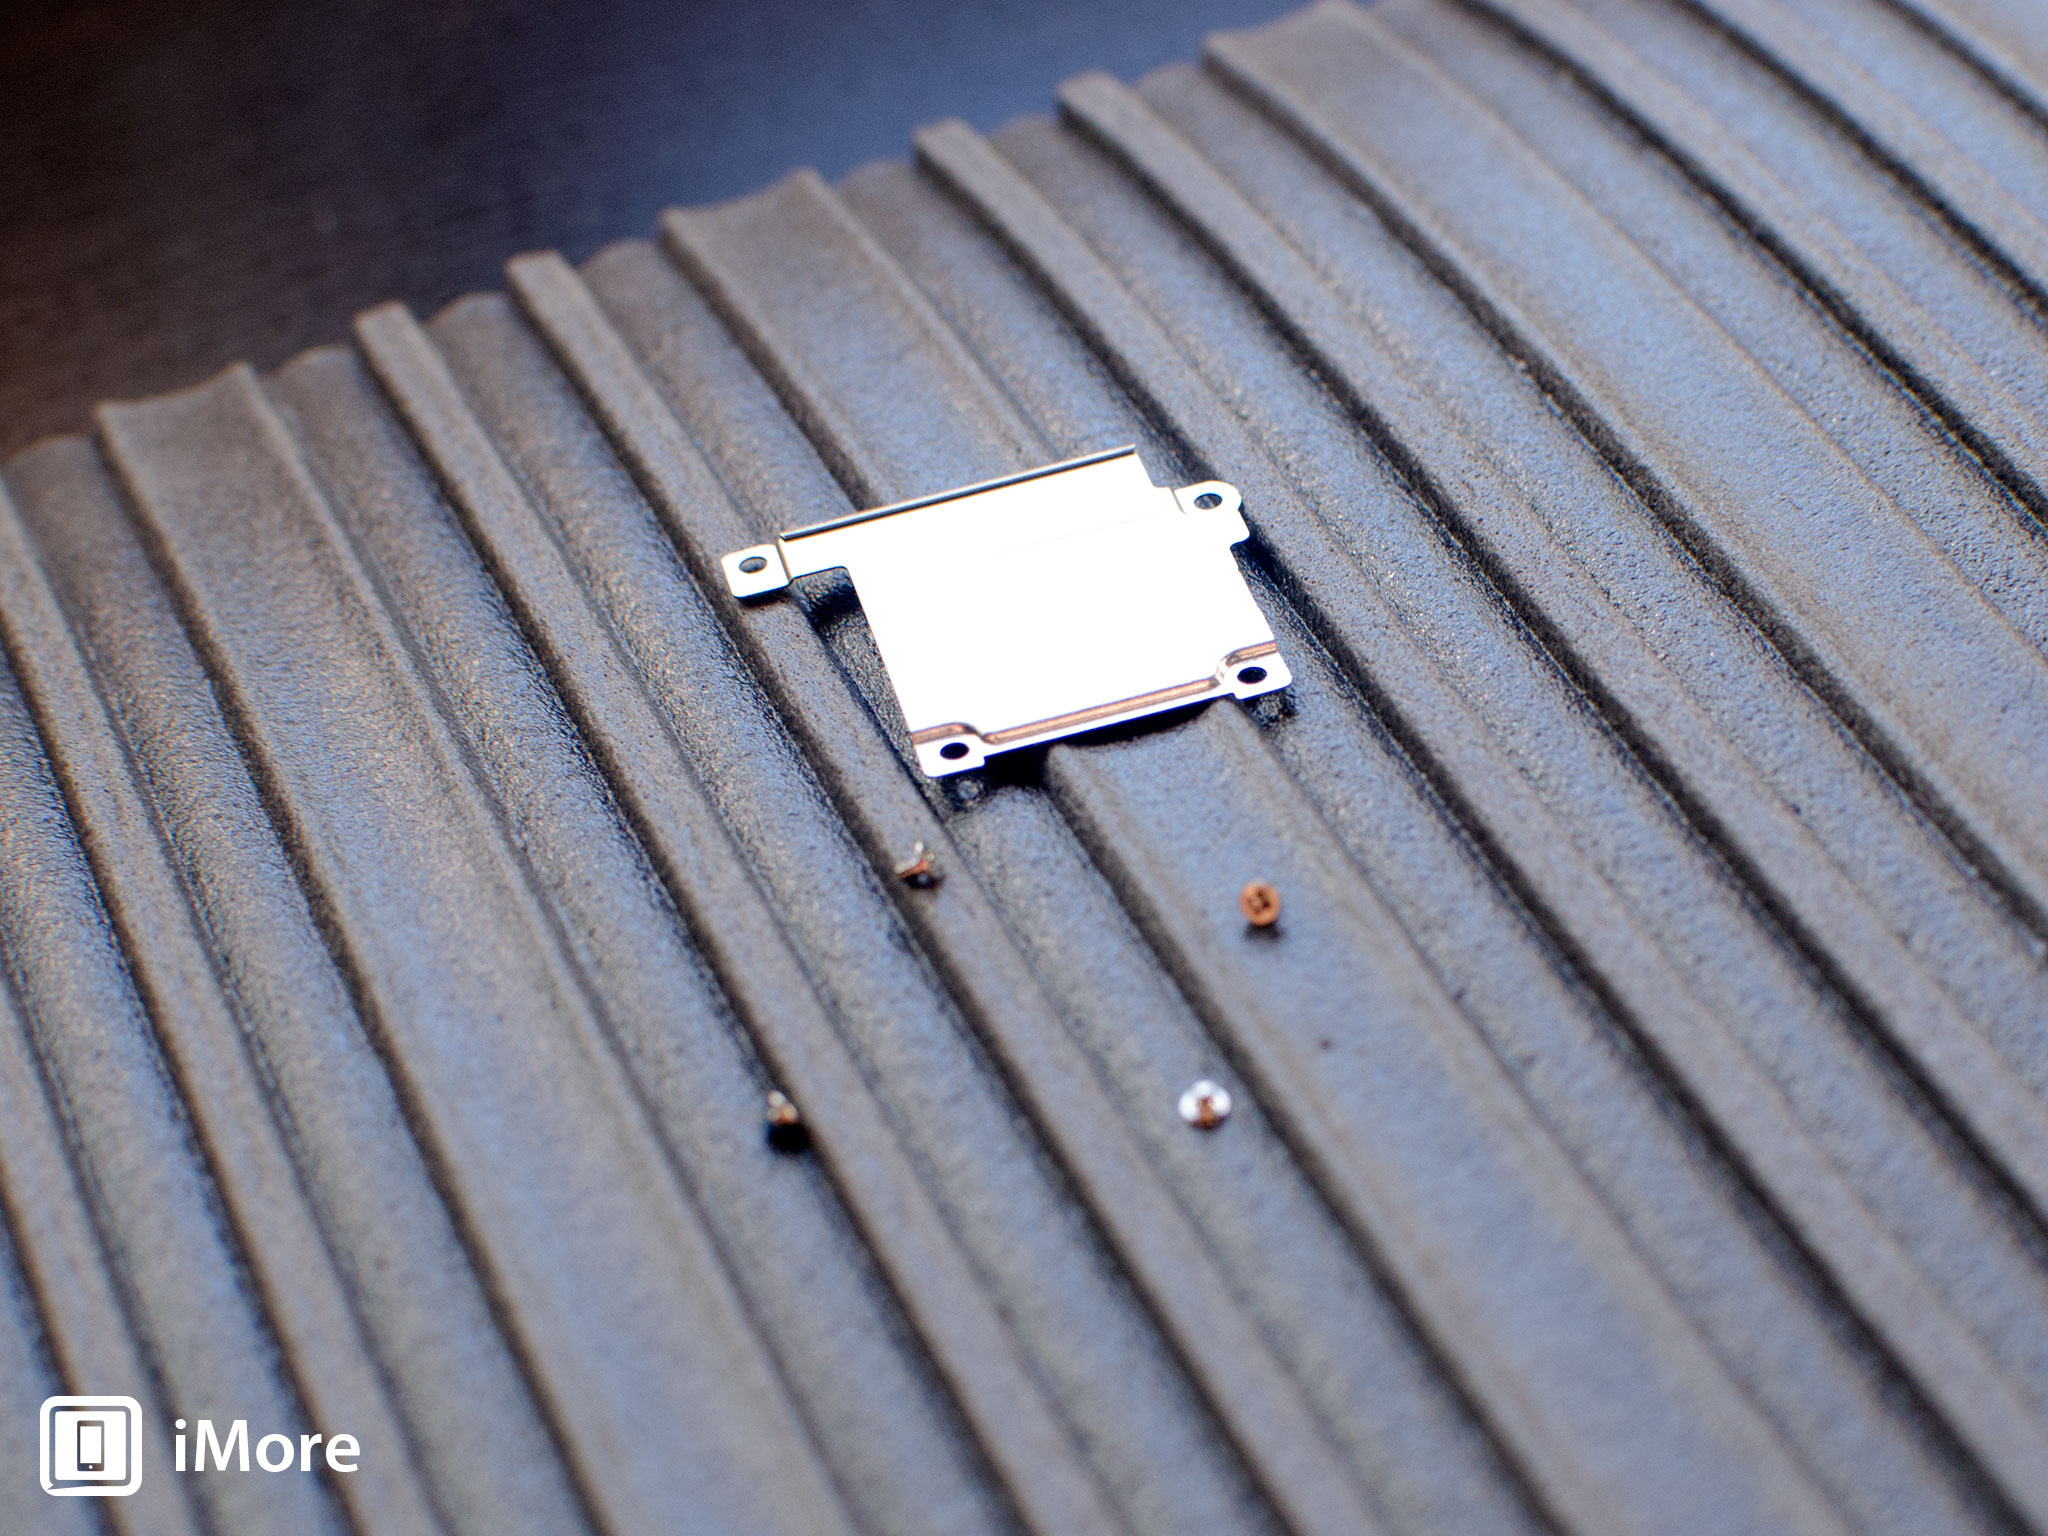
- Remove the four screws holding down the shield that covers the display cables. To do this, use your #000 screwdriver. These screws are different sizes then brand sure you go on them organized in a fashion you tin can remember for re-assembly.

- Once all four screws are removed, carefully remove the shield and set up it aside.
- At present use your spudger tool in guild to remove the 3 cables shown in the paradigm below.

- The display assembly should now exist free from the body of the phone. Go ahead and set the display assembly aside.


four. Disconnect the battery
We don't need to completely remove the battery for this repair merely it's always a good thought to disconnect the battery before removing and replacing internal components in order to foreclose a curt from occurring.
- Remove the two screws holding downwardly the bombardment cablevision using your #000 Phillips screwdriver.

- Gently lift the battery shield out of your iPhone 5c and advisedly set information technology bated.

- Utilise your spudger tool to carefully pry up the battery cablevision.
- That's it. We don't demand to become any farther. Just remember to keep track of the shield and what order the two screws came out.


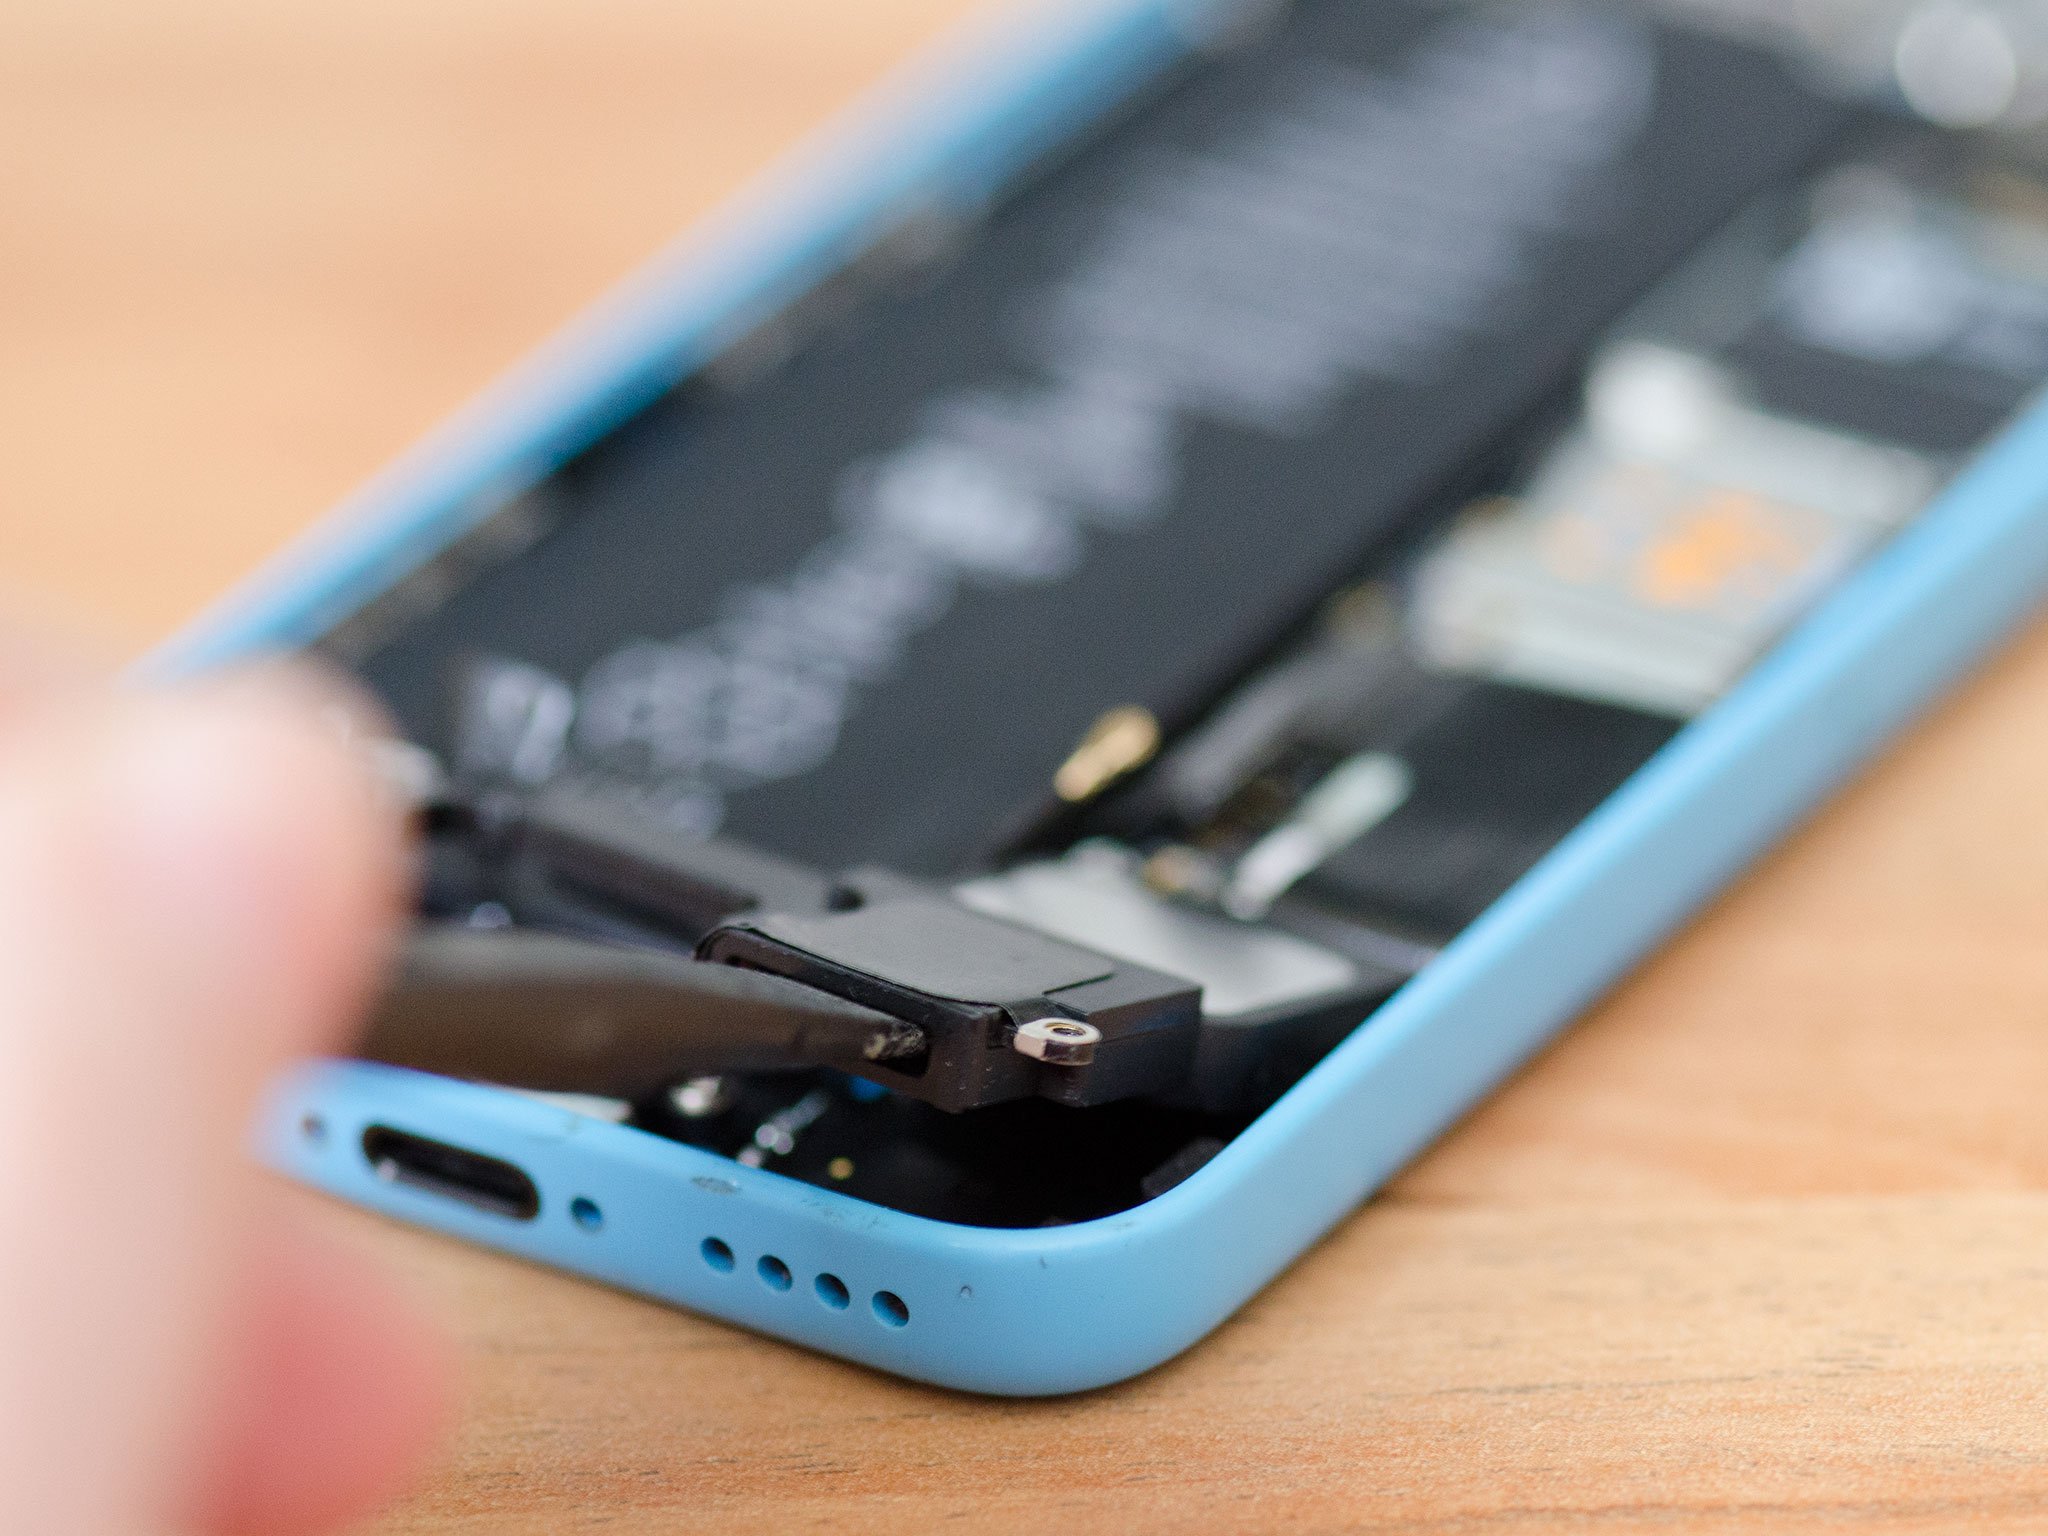
5. Remove the loudspeaker assembly
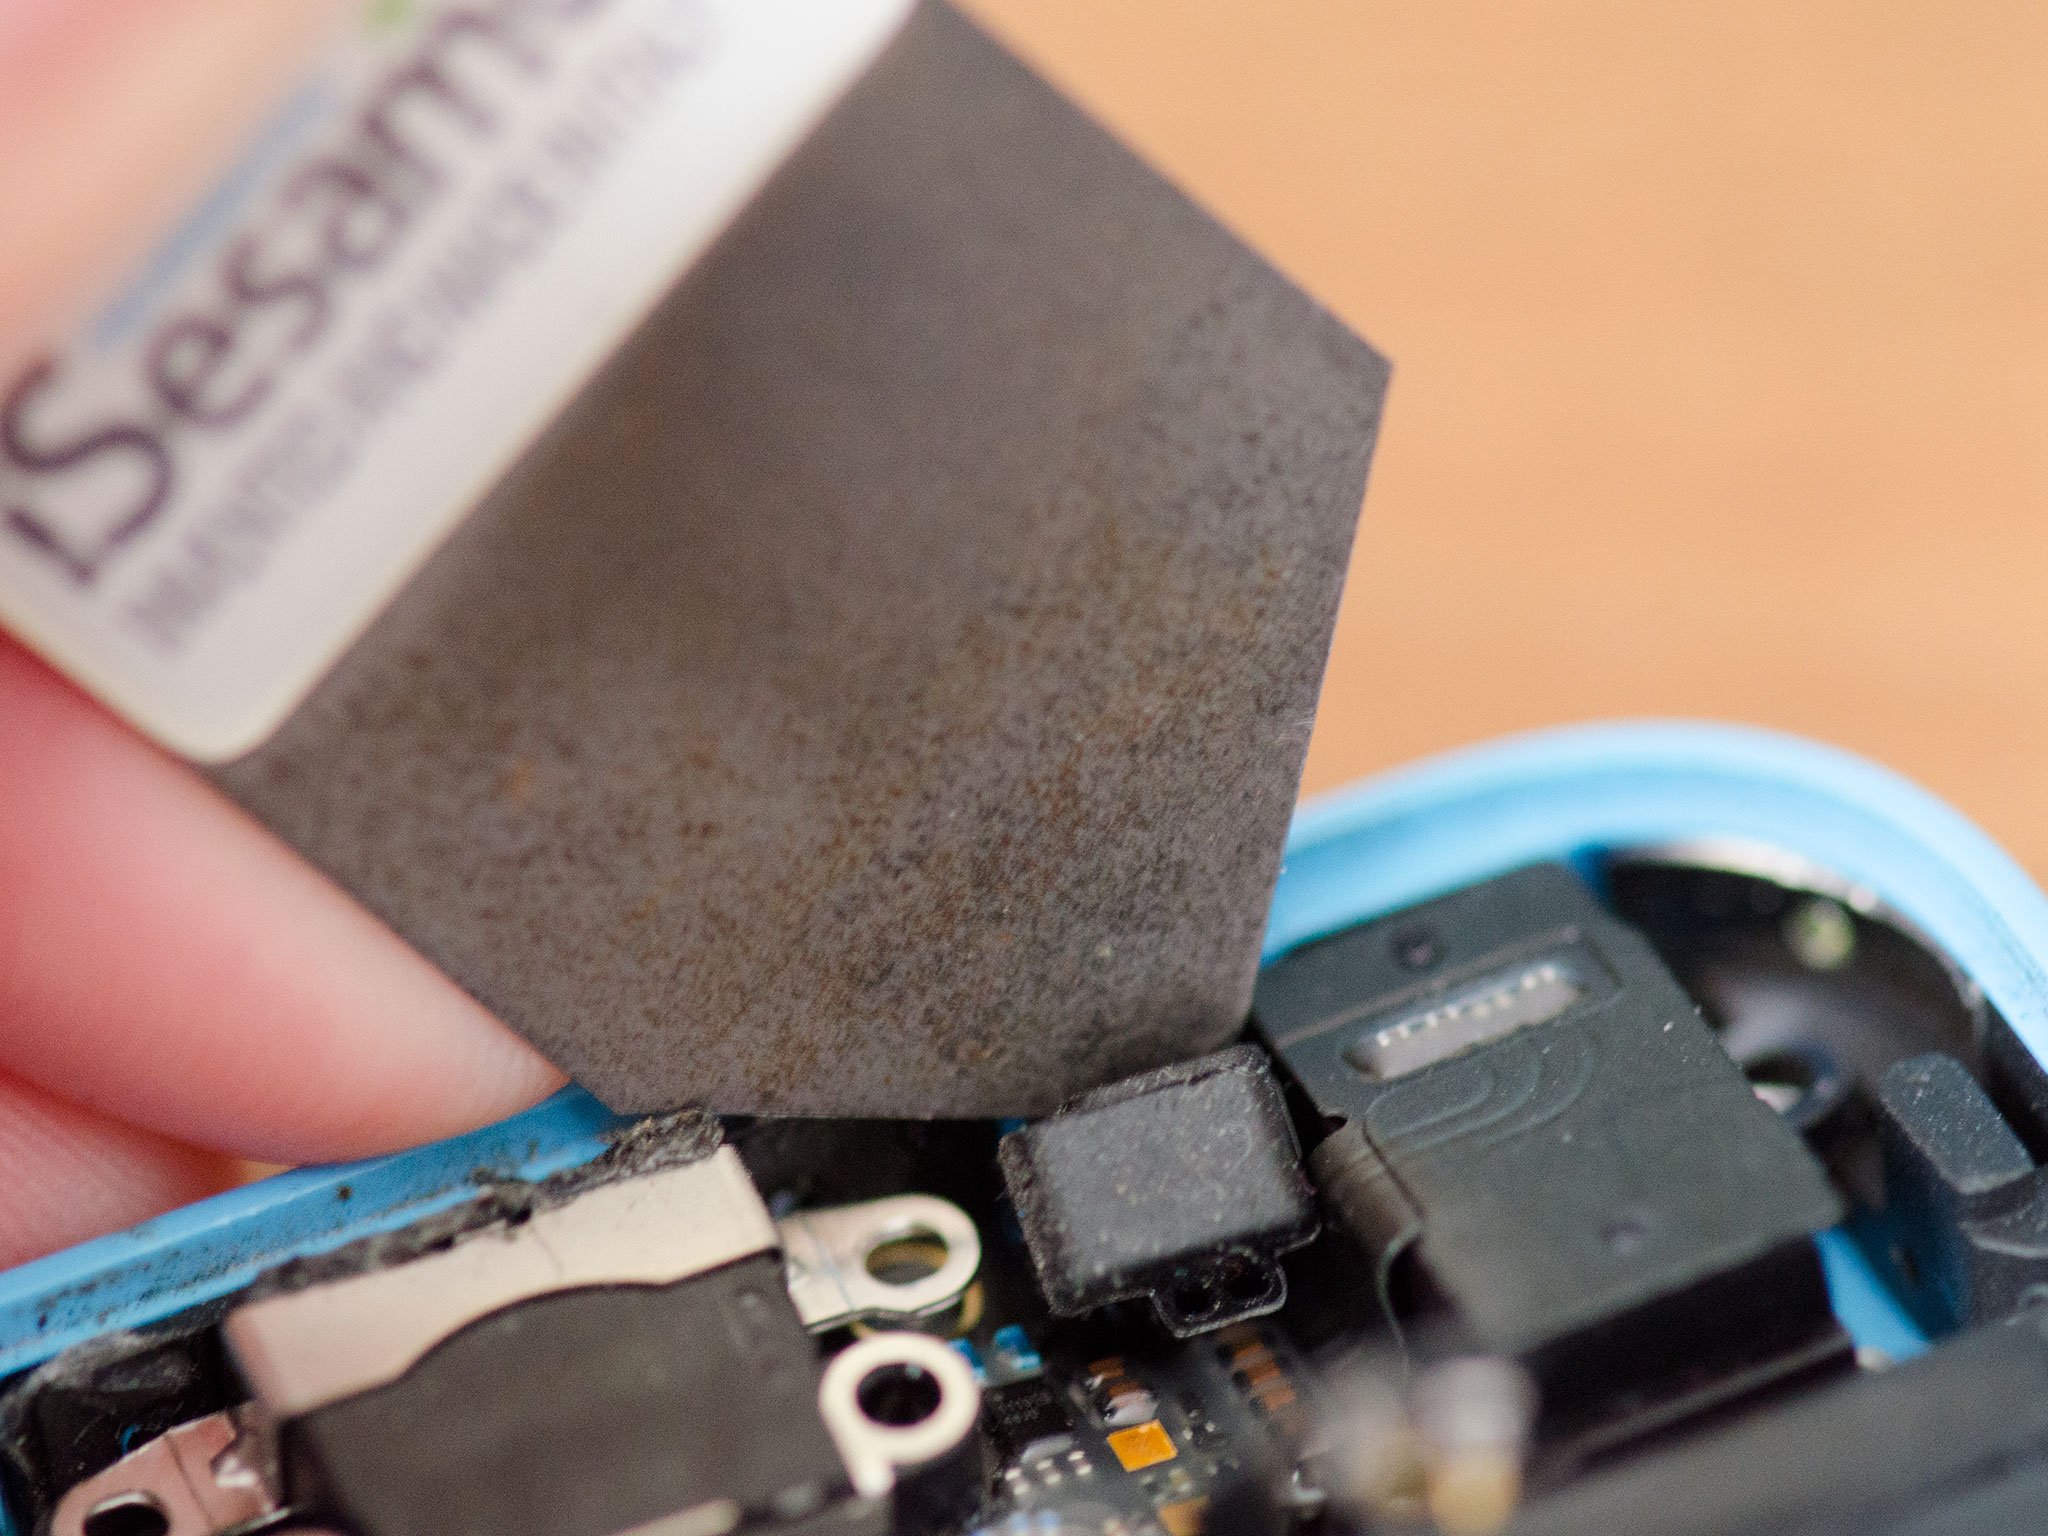
- Start by carefully peeling up the adhesive shown in the photos below using your pry tool or iSesamo opening tool taking care not to tear it. This cablevision works in conjunction with your home button. It does not come up completely out. You only want it to be detached from the speaker enclosure.

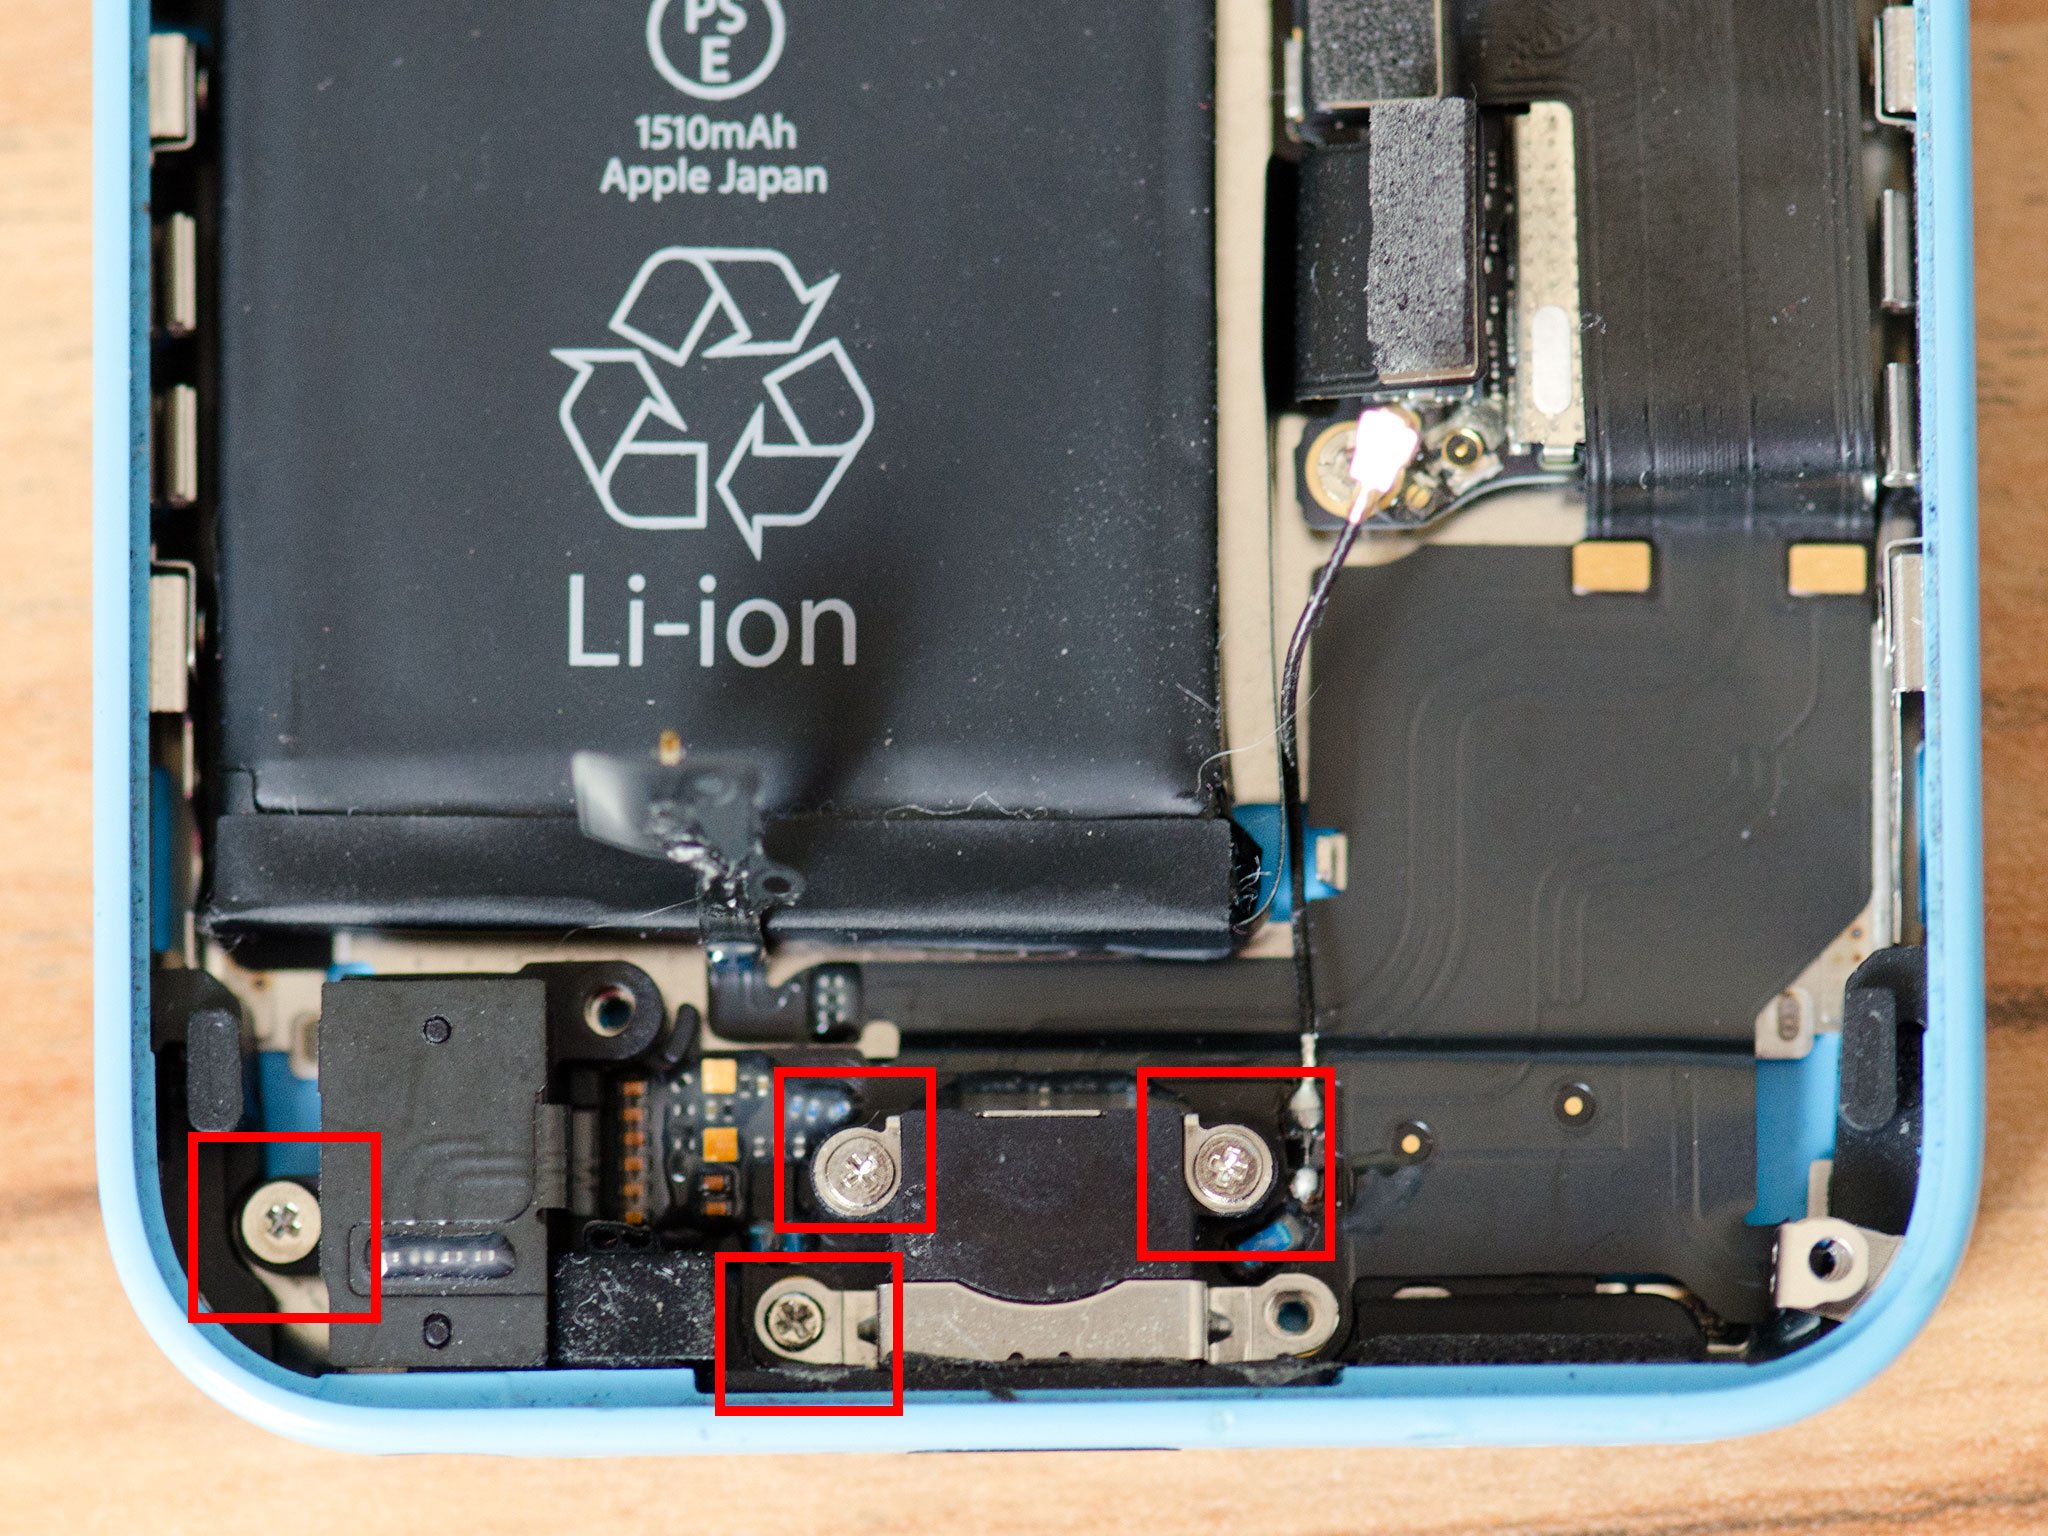
- At present remove the three screws shown in the photograph below using your #000 Phillips screwdriver.
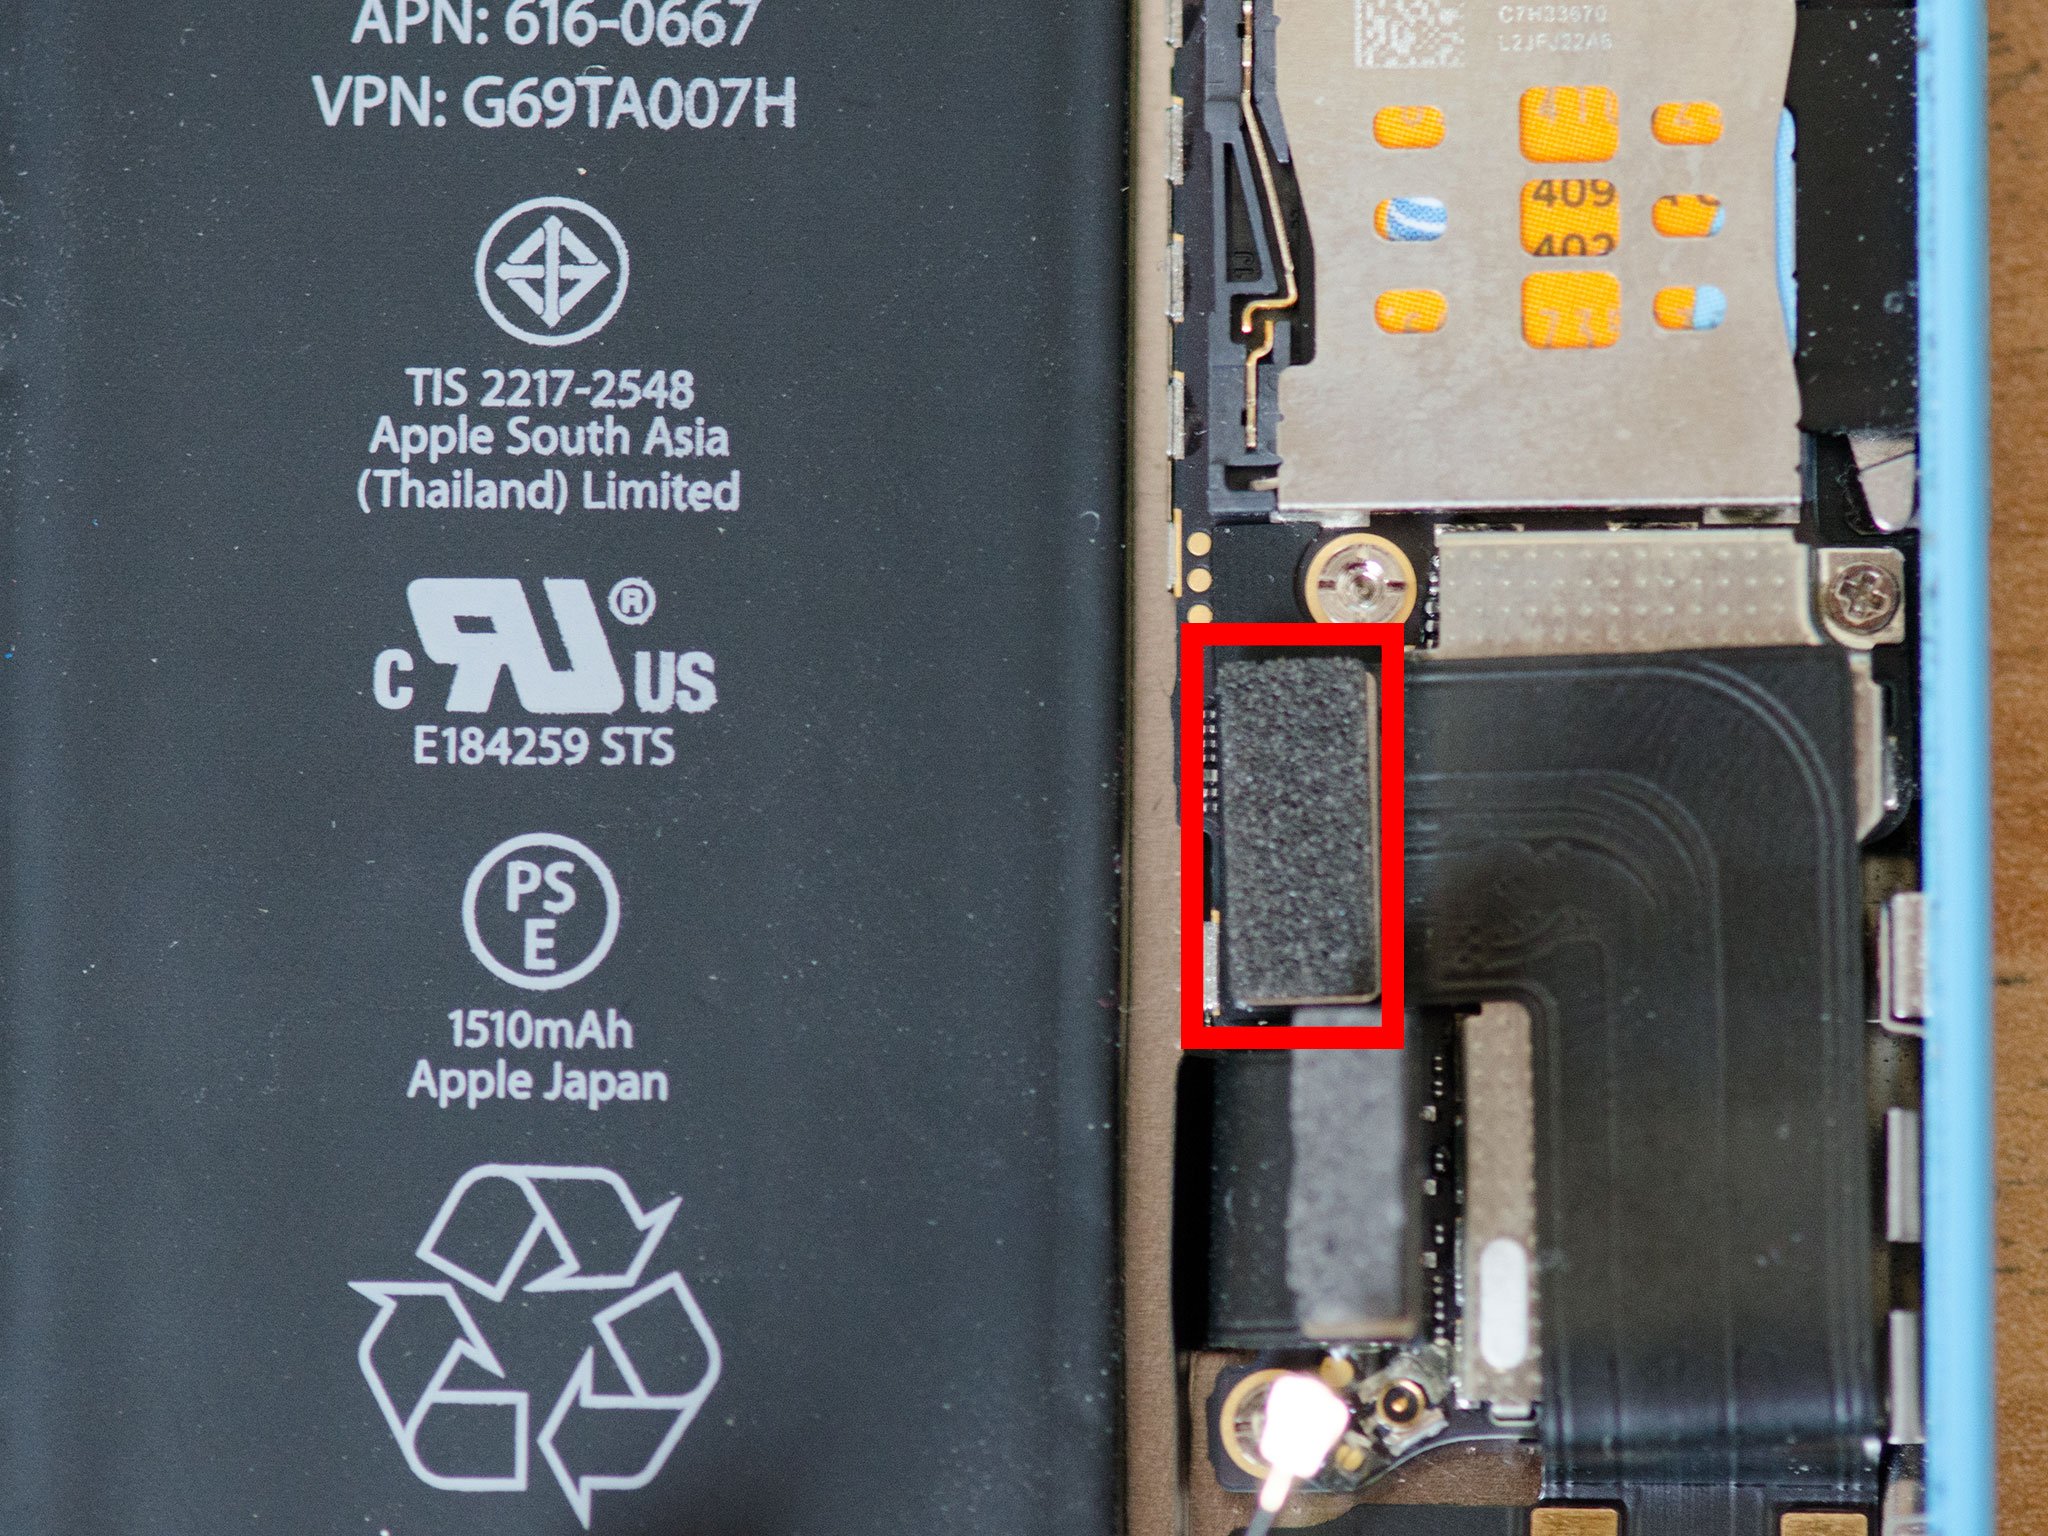
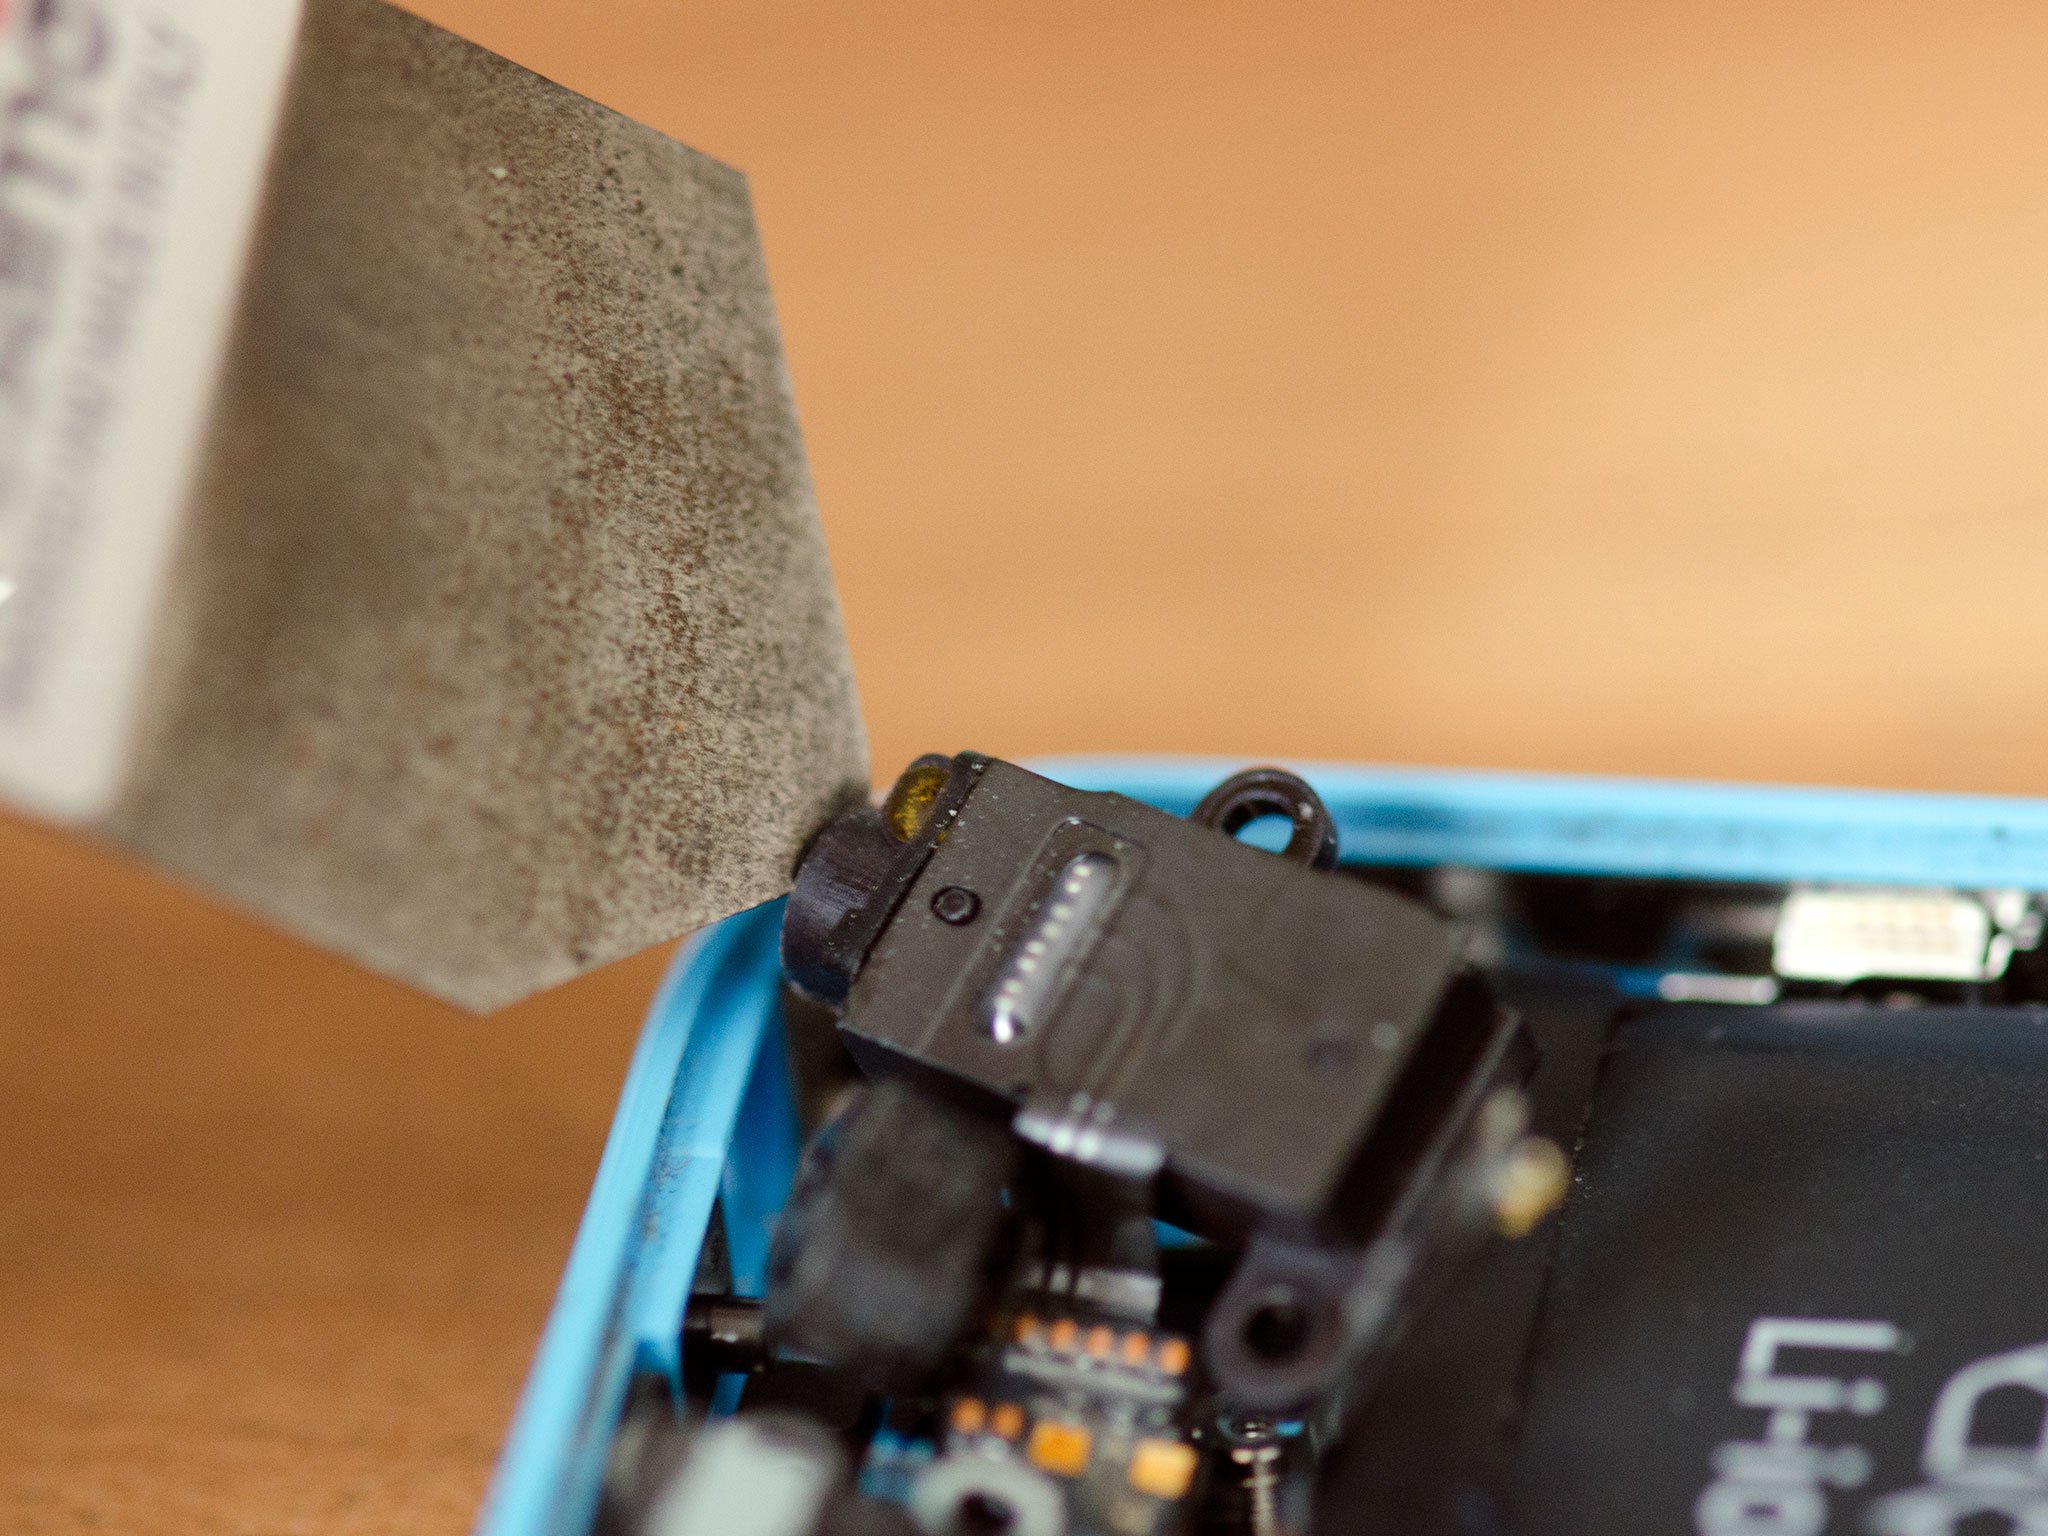
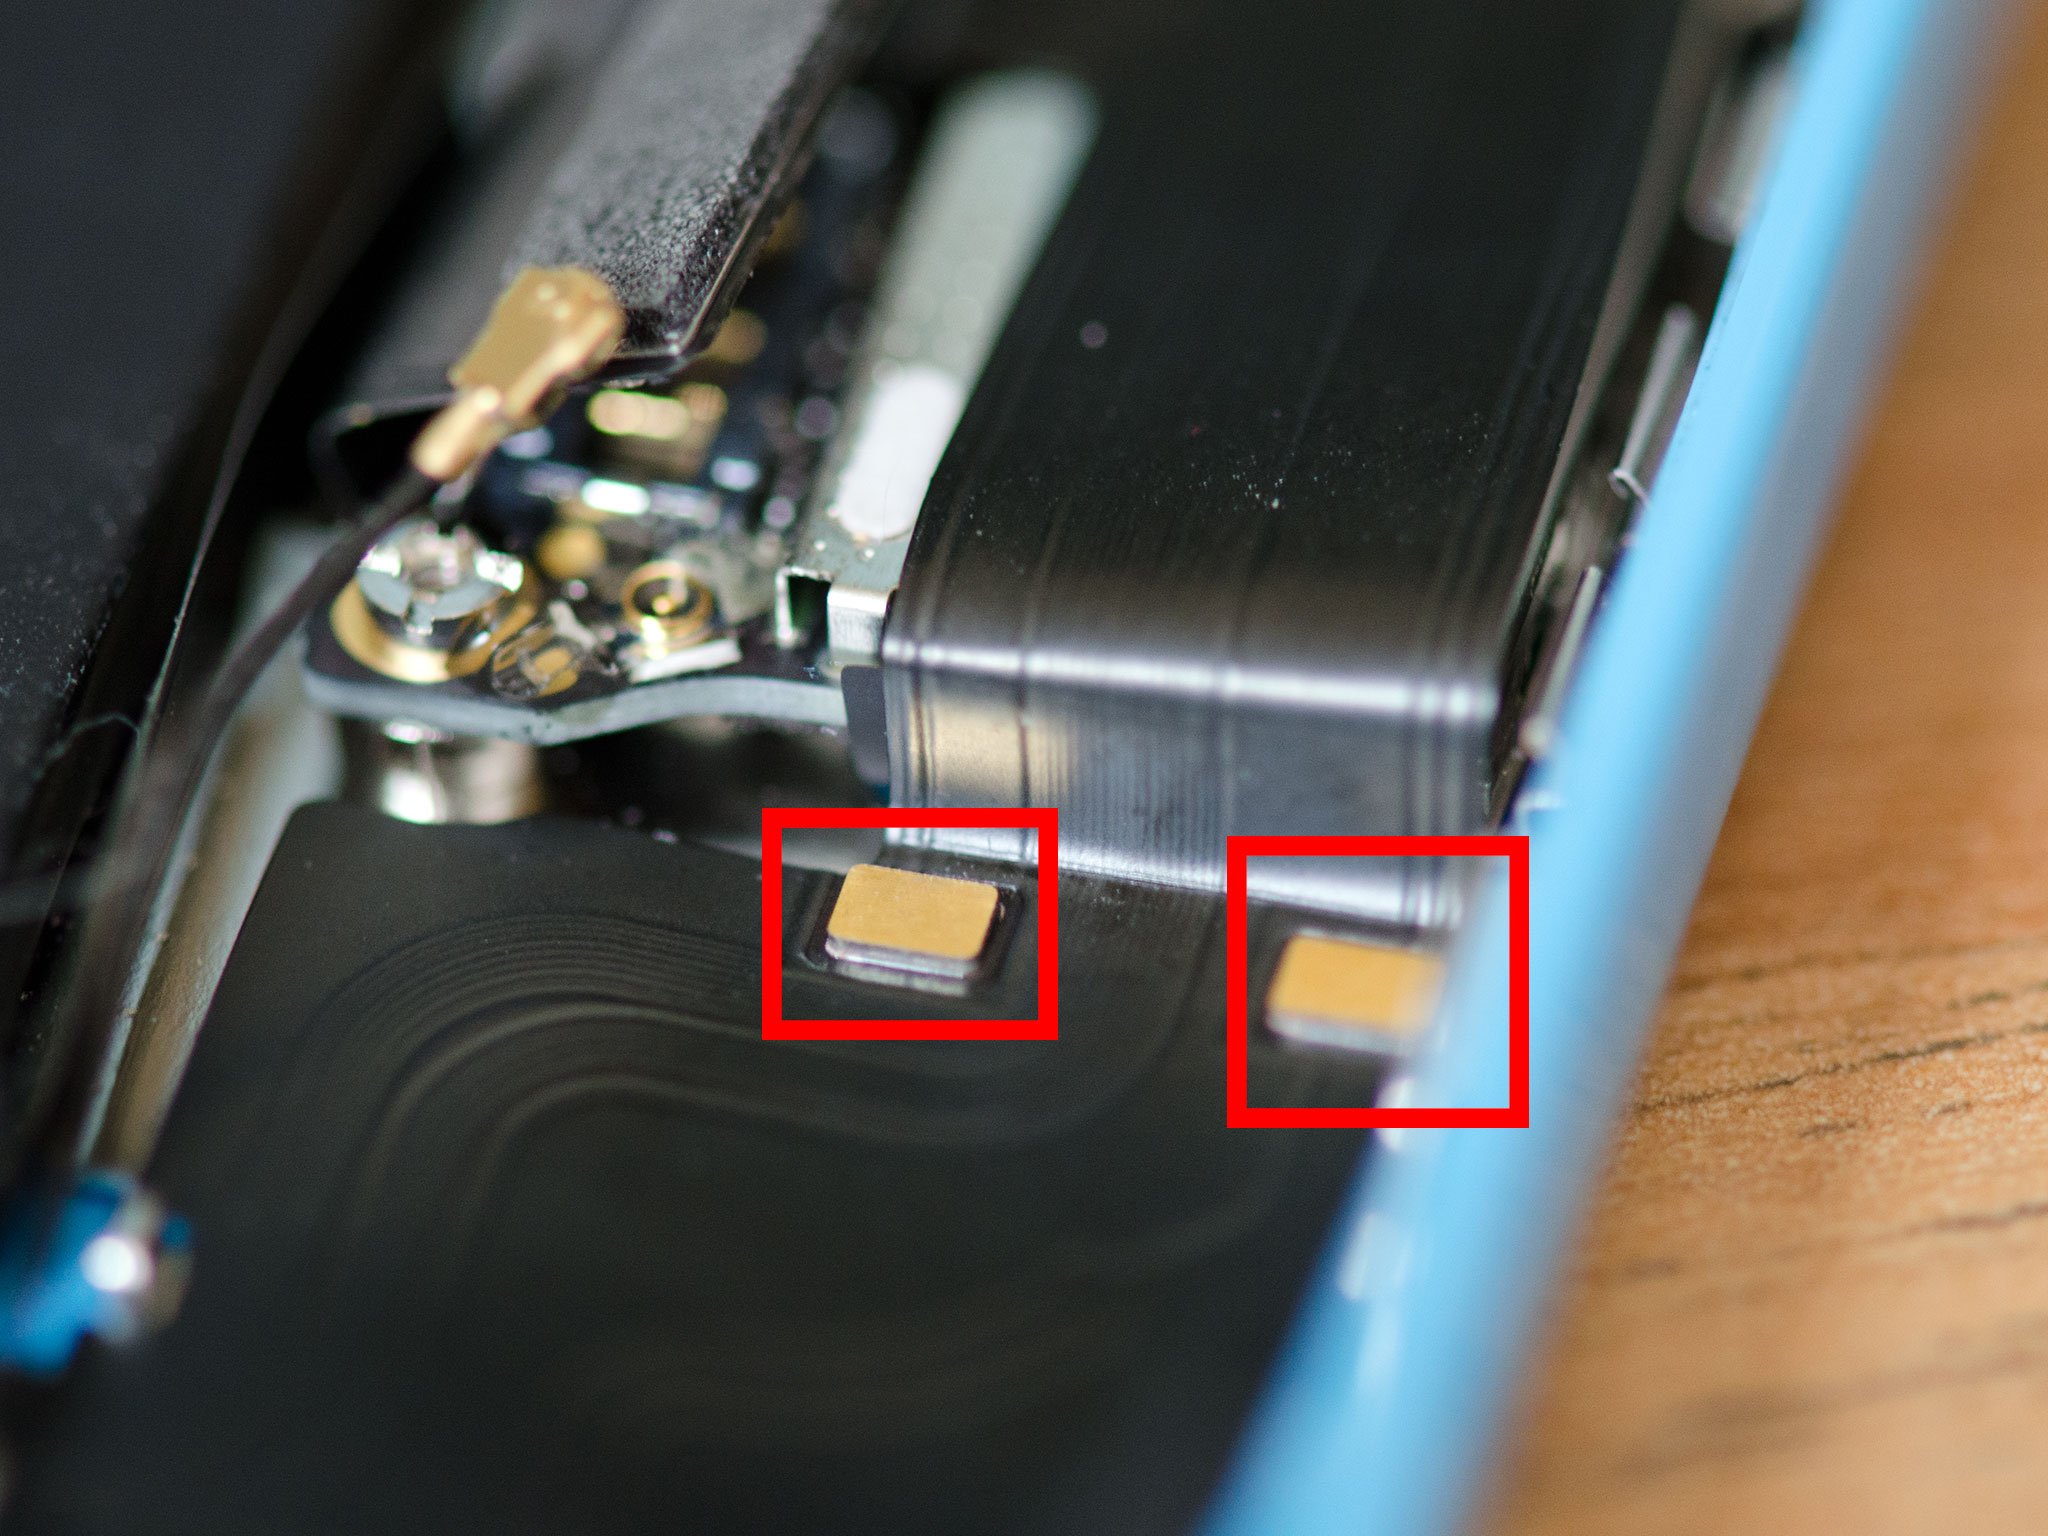
- Disconnect the small round gold connector using your spudger tool. This is located under where you disconnected the battery. Pay attention to the adhesive that is holding it down. It'south quite easy to break but accept your time so you don't break the cable itself.

- The speaker enclosure can at present be lifted out of your iPhone 5c. Just have care not to snag the dock, logic board or any cables while removing it. The photo below shows the best manner to grab concur of the speaker assembly.


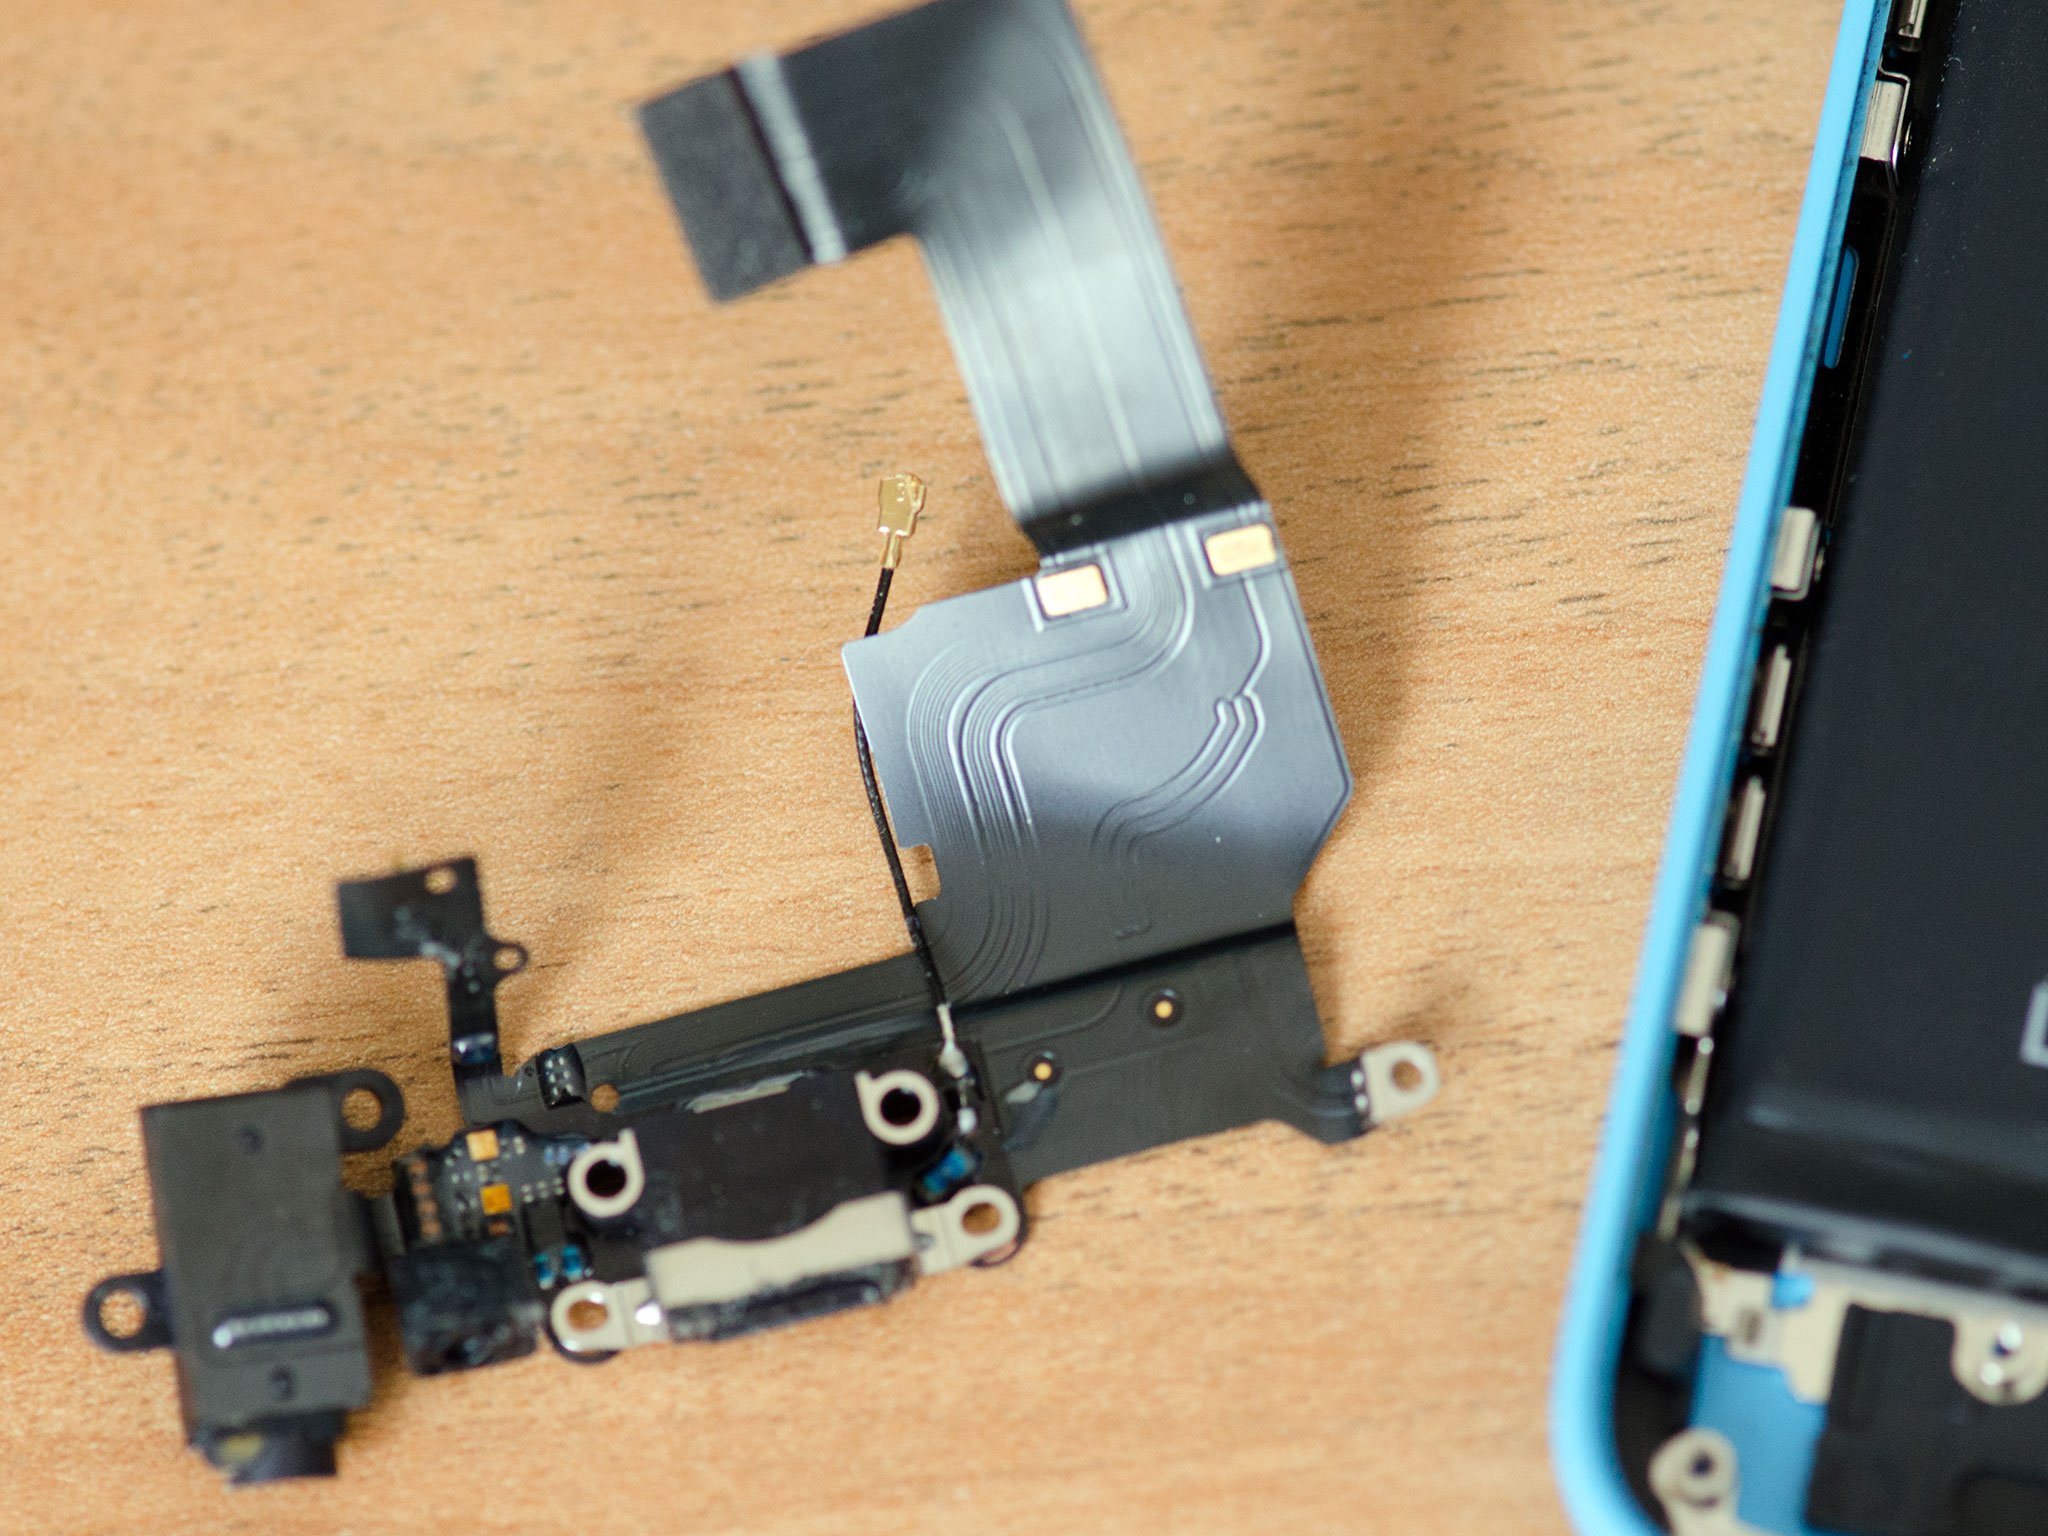
6. Supplant the Lightning dock assembly
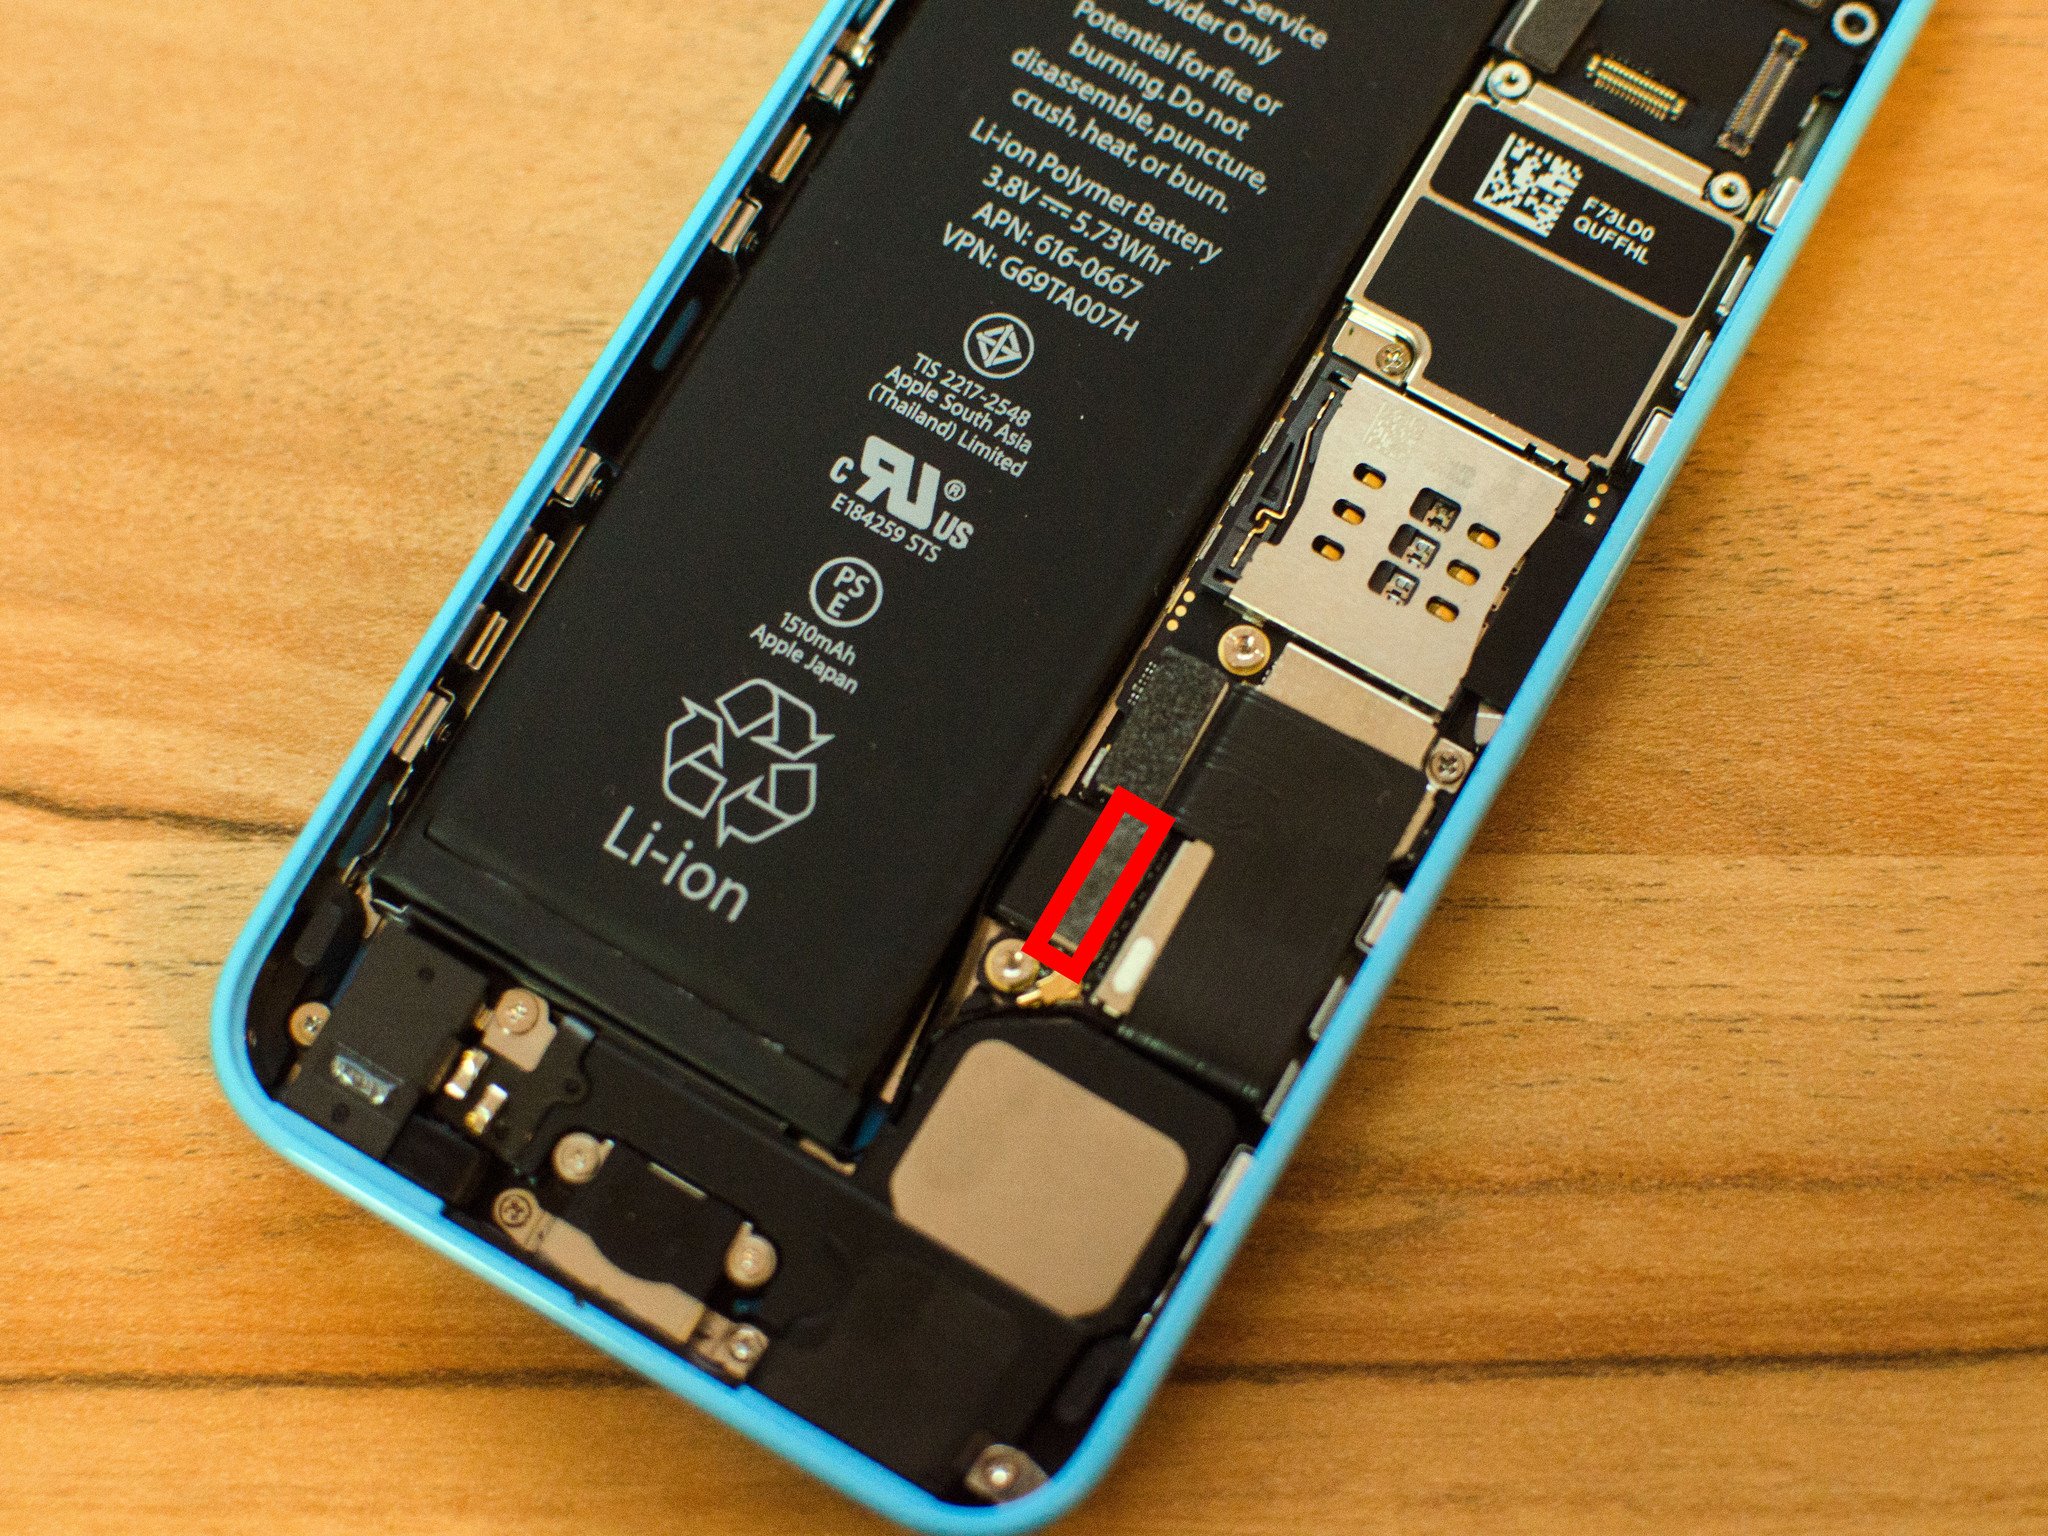
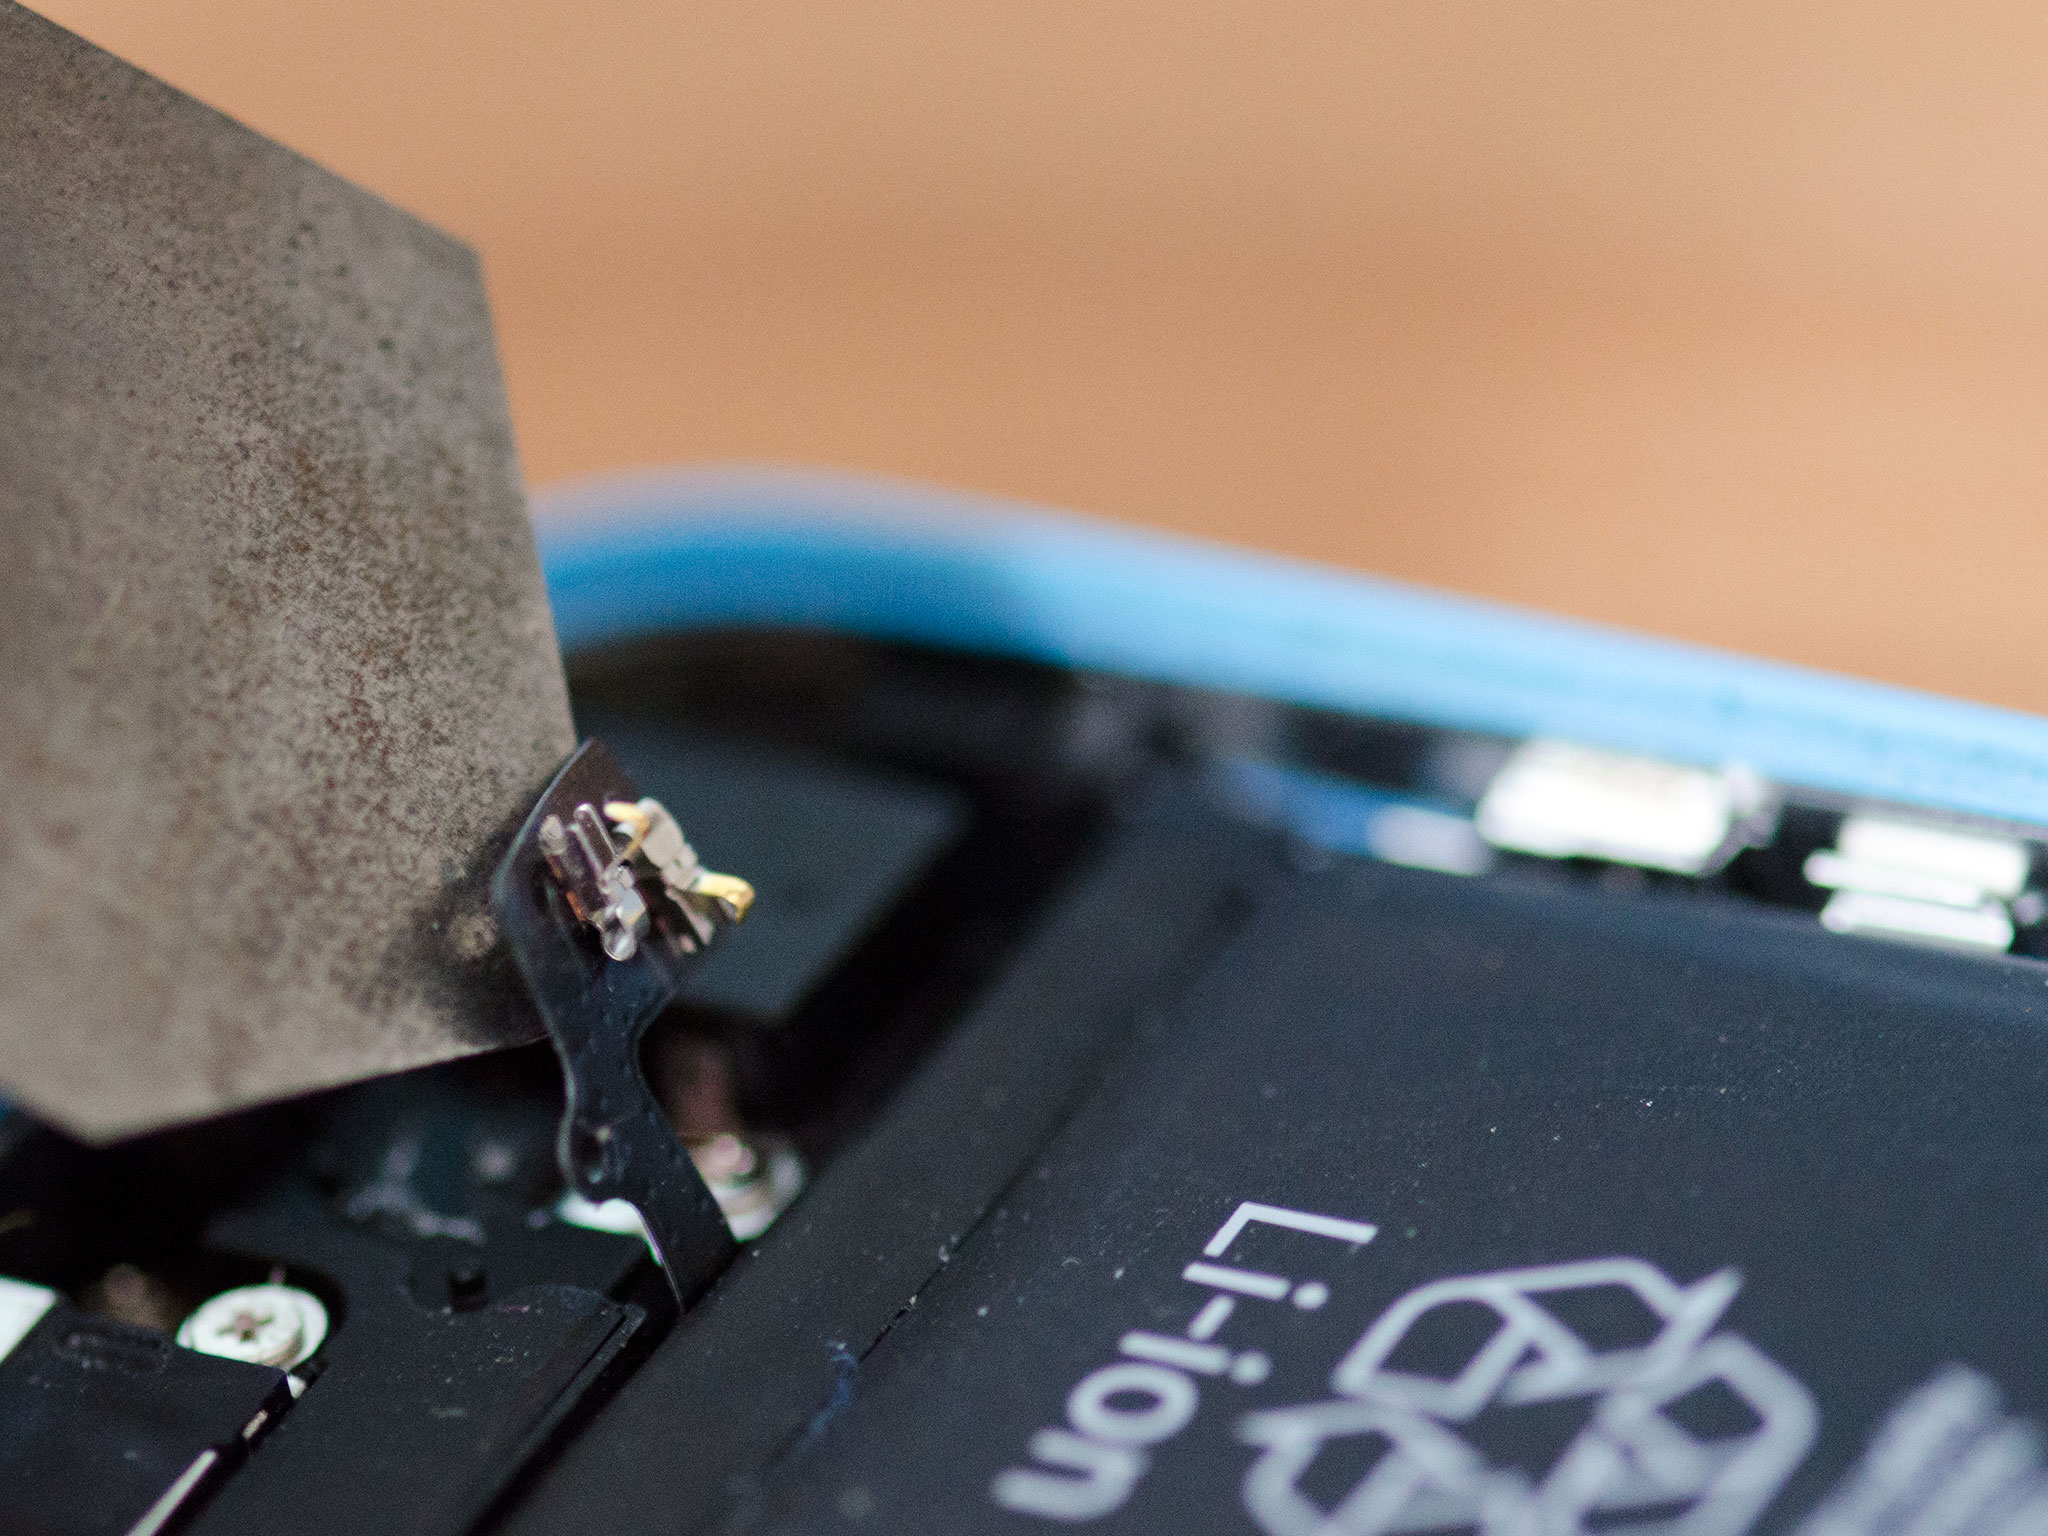
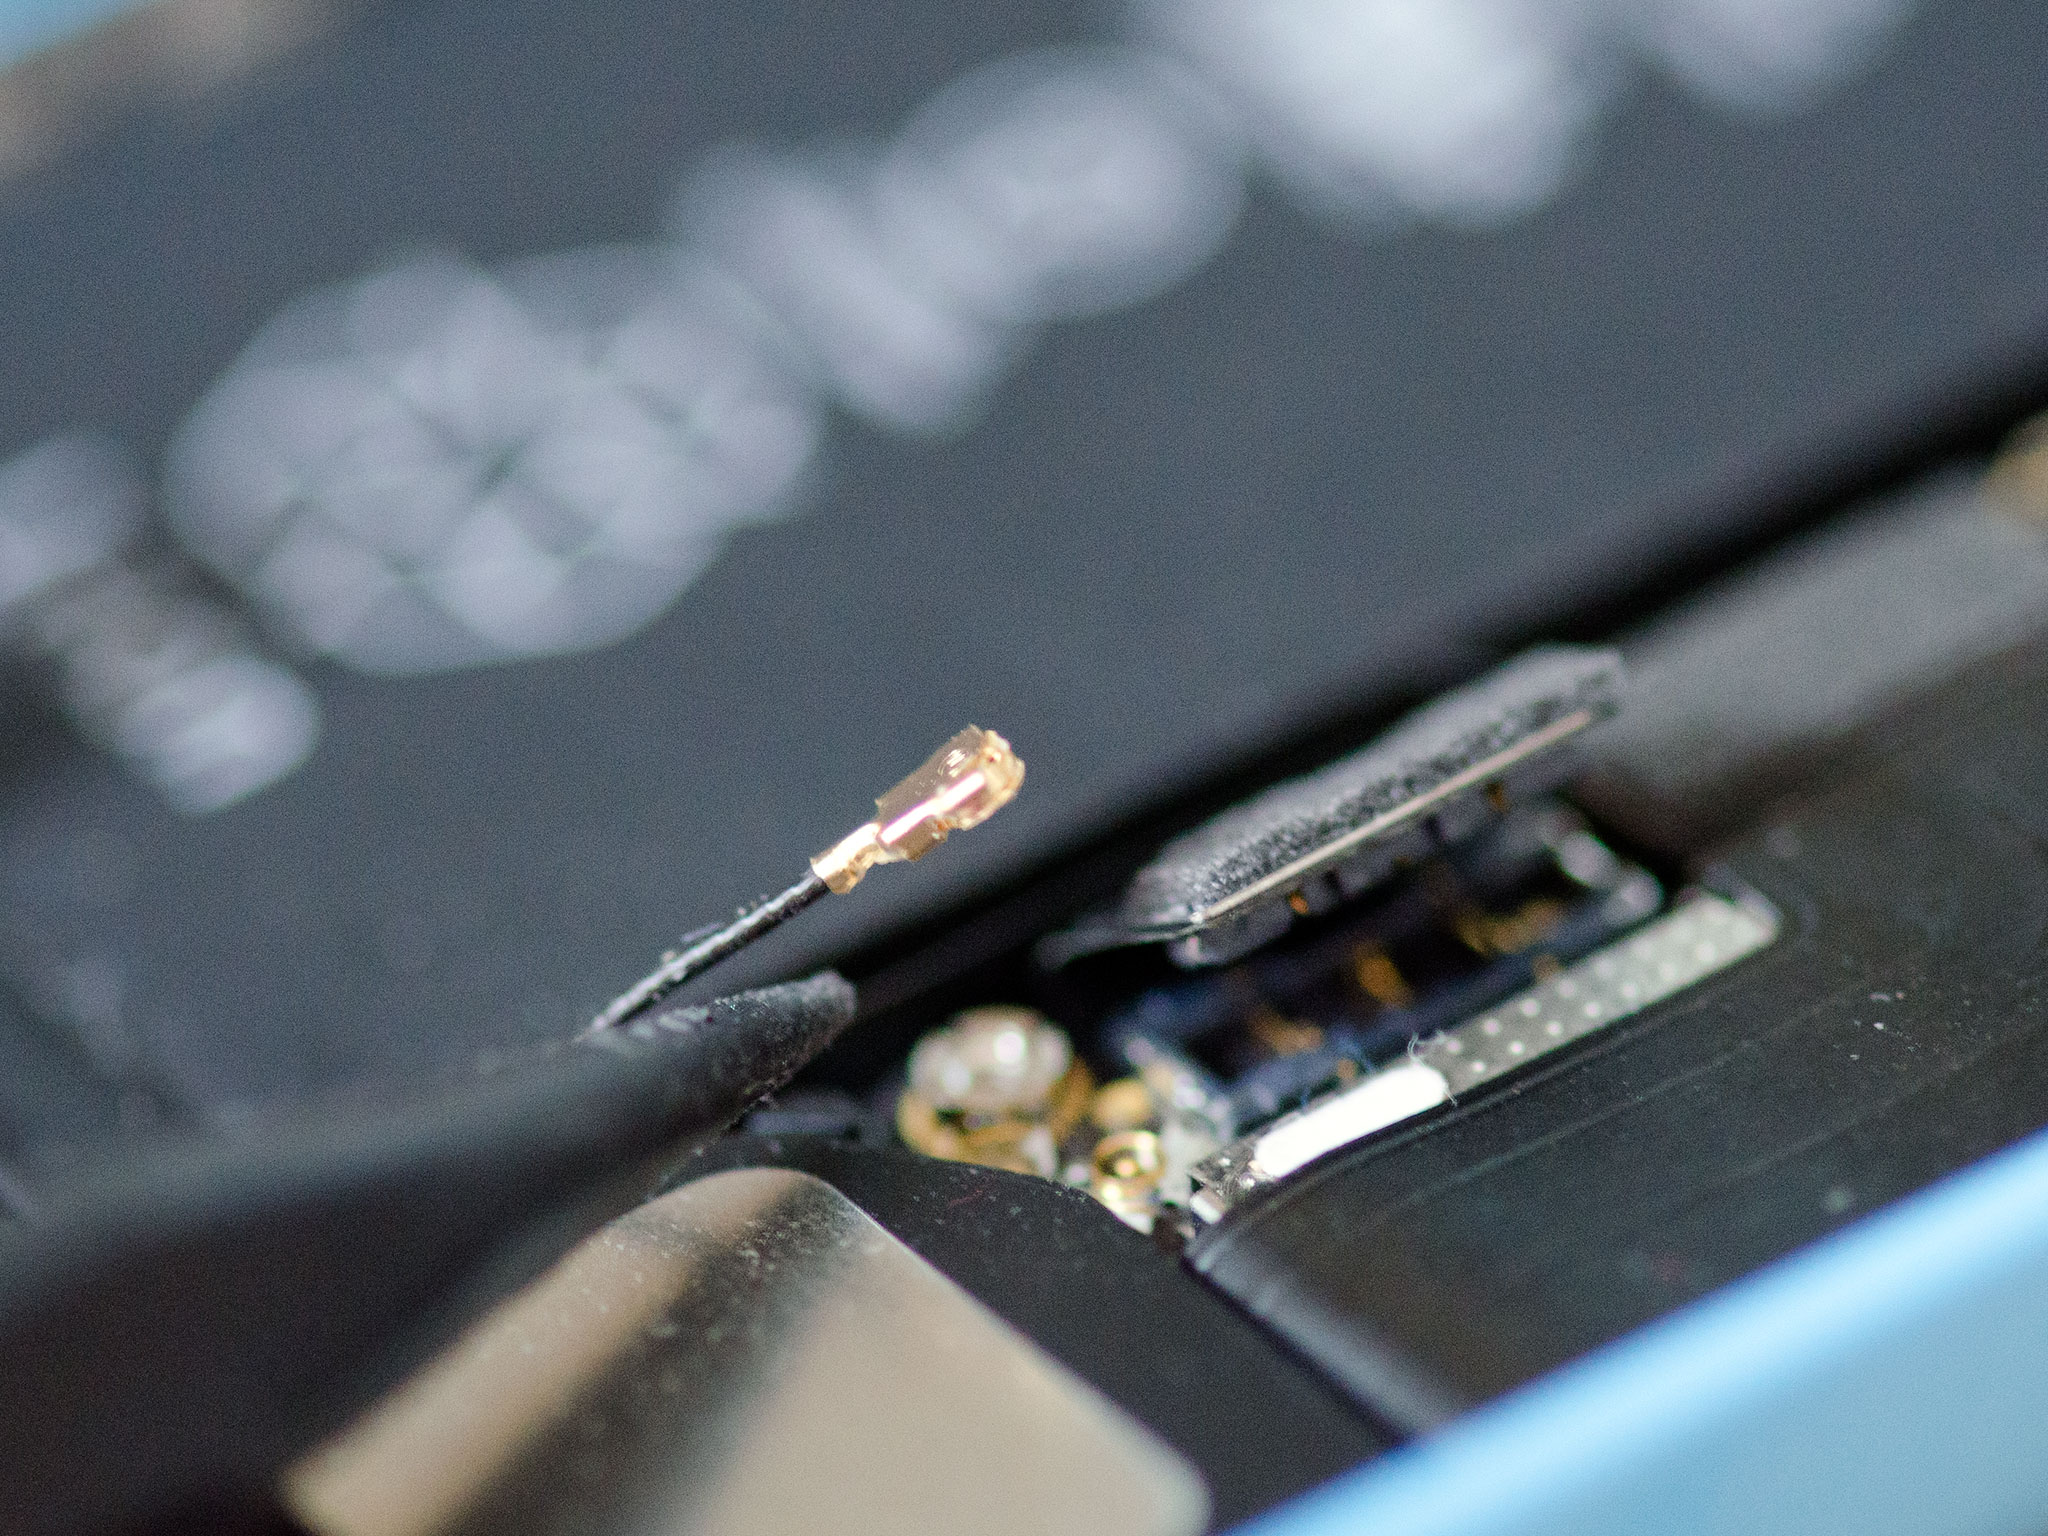
- Kickoff by using your spudger tool to disconnect the single cable that connects the dock to the logic board. It is above where the battery connector is located.
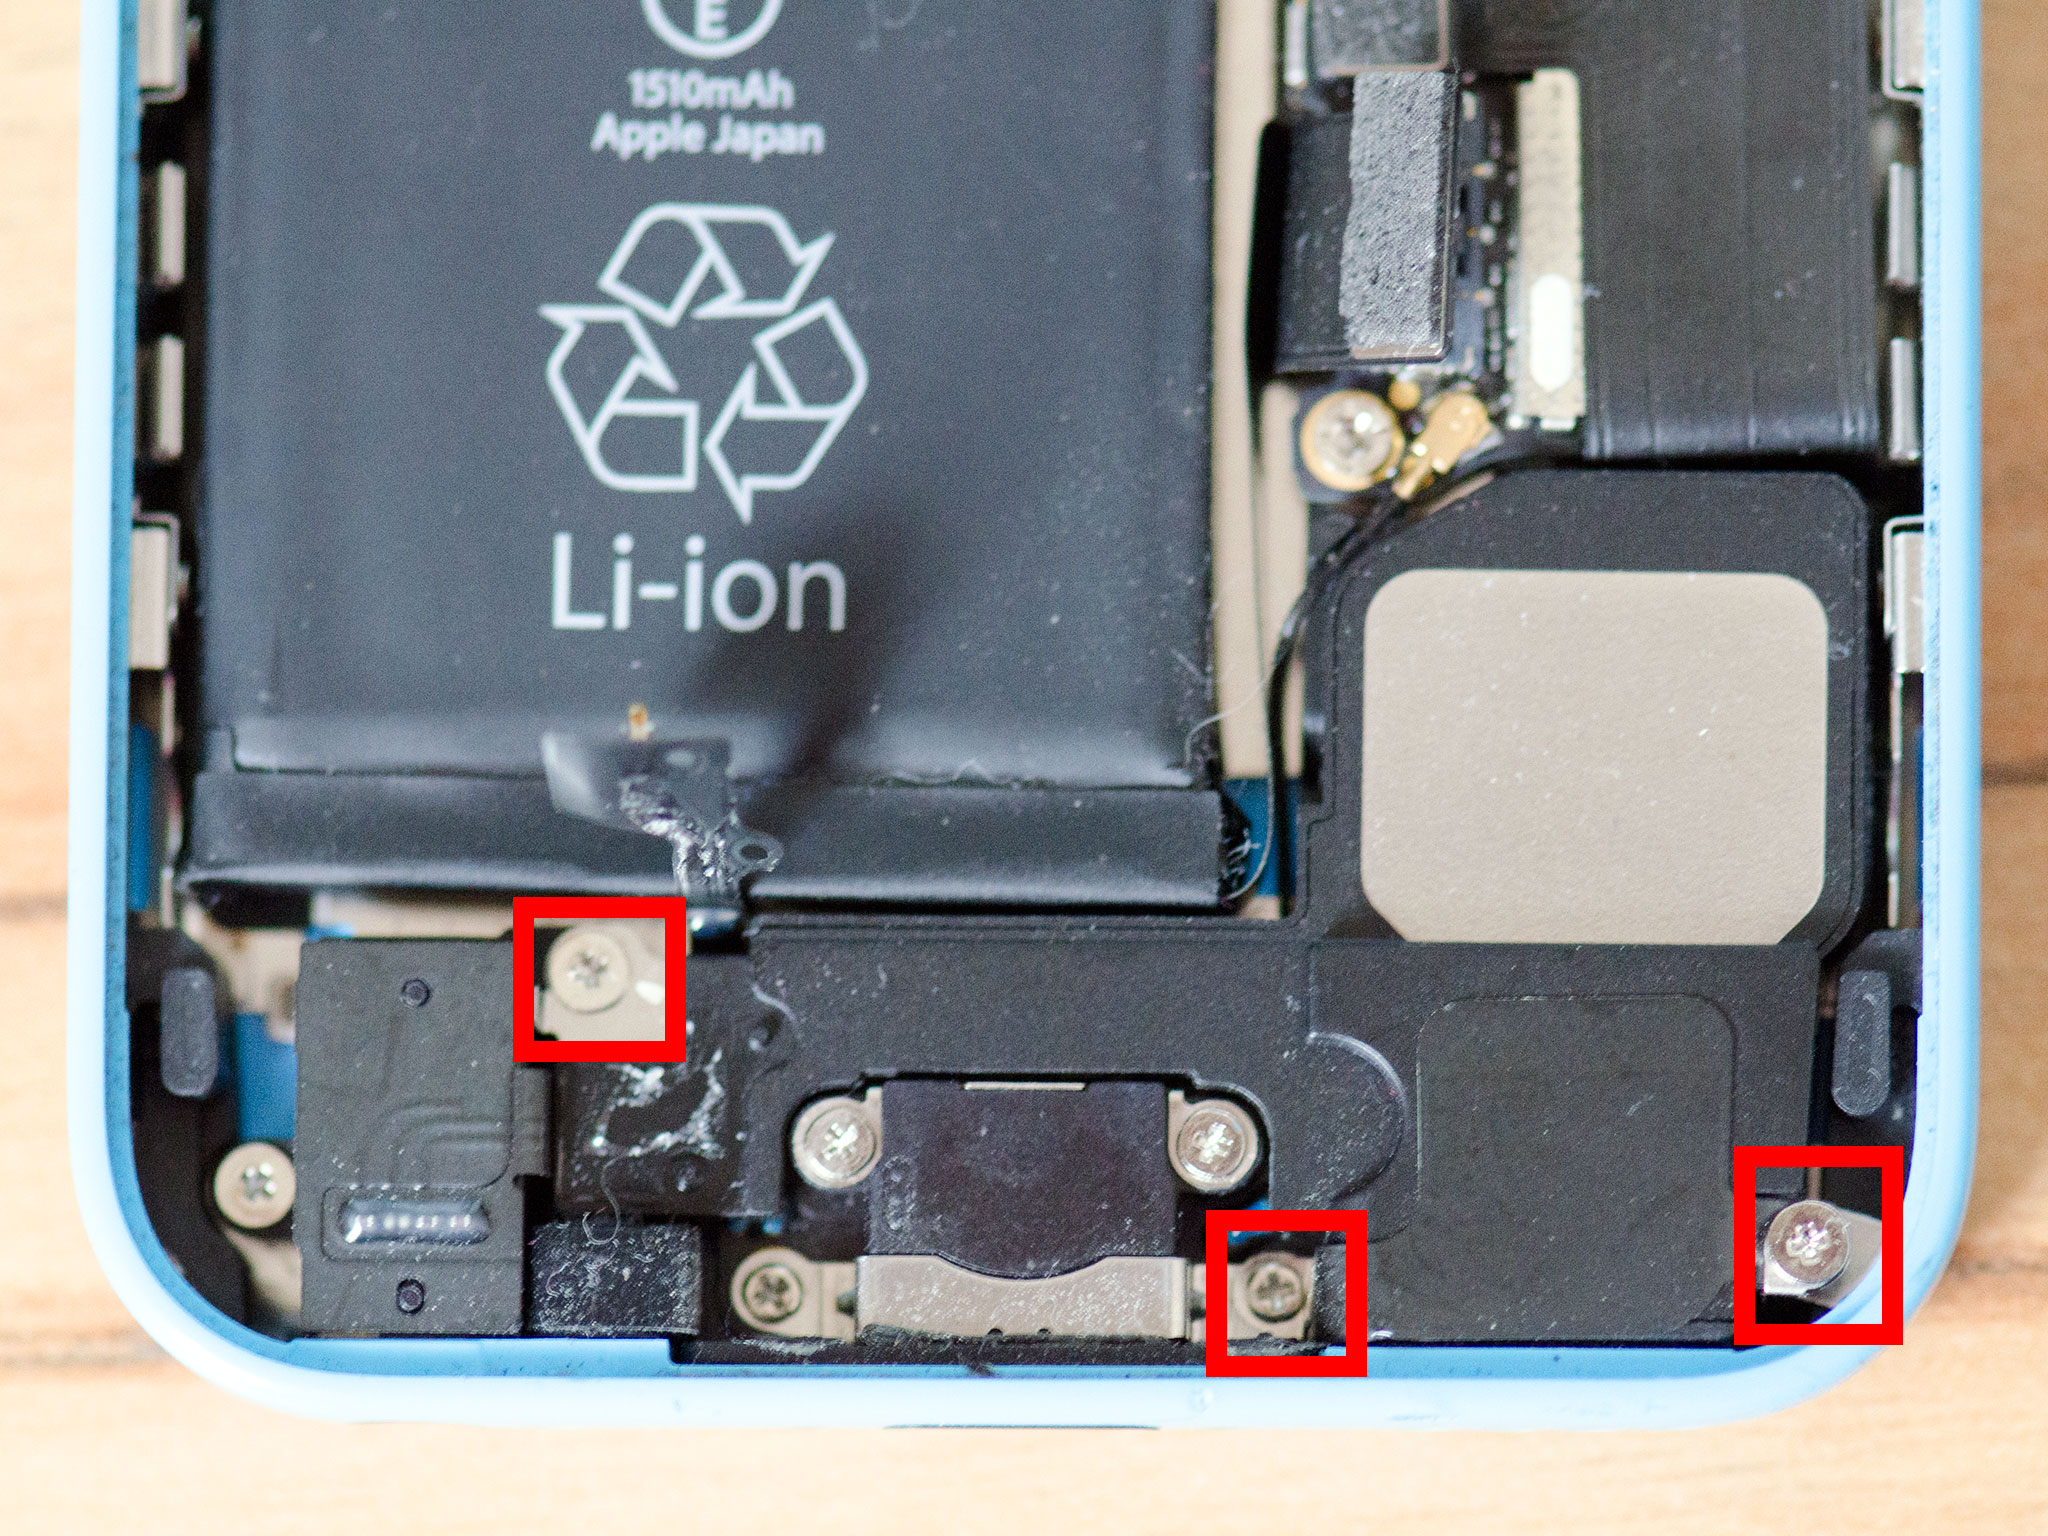
- Utilise your #000 Phillips screwdriver to remove the remaining 4 screws that hold the dock in identify. They are outlined below.
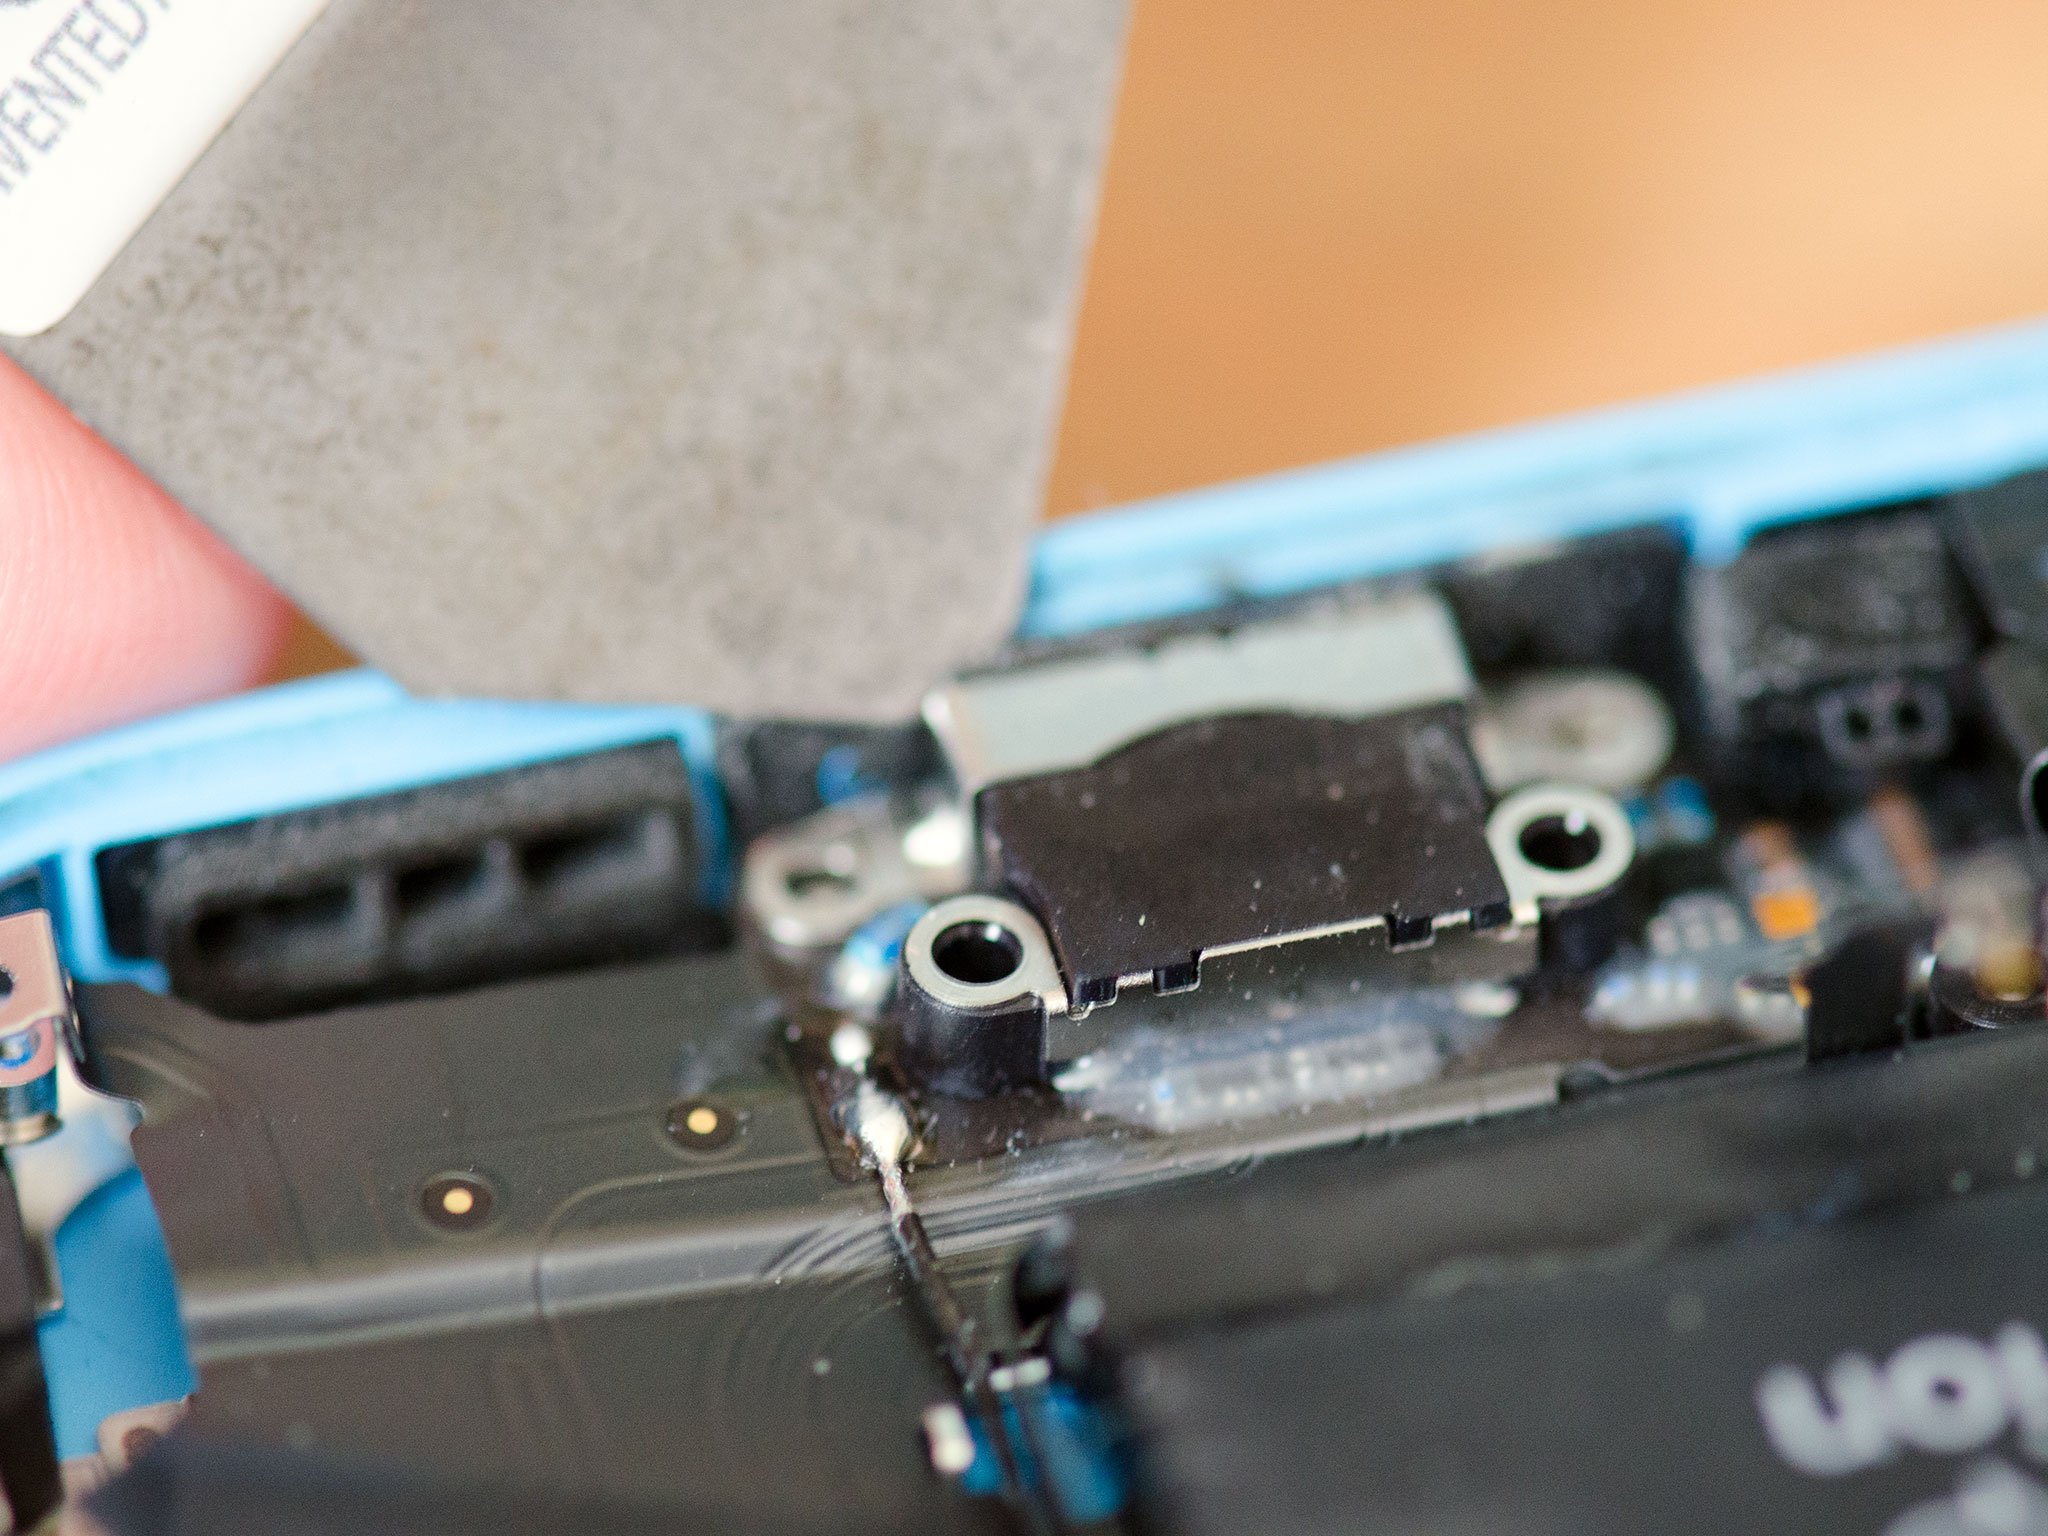
- The dock is at present set to be peeled out. The only affair property it in now is adhesive. The easiest place to commencement is by peeling where the cable connects to the board. Once you go to the bodily dock, use your spudger tool, or iSesamo opening tool which is what I prefer, in social club to break the foam adhesive around the Lightning connector.
- Apply your pry tool or any opening tool in order to pop off the rubber gasket that sits next to the headphone jack. Information technology doesn't come off completely. You only demand to pop it away from the frame.
- Use your pry tool or iSesamo opening tool in order to break the adhesive effectually the headphone jack, which is likewise part of the dock associates. You may demand to use a finger on your other hand to work it up and effectually the bombardment.
- Now use your opening tool to remove the residual of the adhesive under the dock assembly, taking care not to tear anything. The dock should now come free from your iPhone 5c.

- Check out your old dock compared to your new one and make certain they look exactly the same. Peel off any adhesive bankroll on the new dock. This is as well a skillful fourth dimension to remove any former adhesive from inside the frame of your iPhone.
- Beginning by lining upwards the headphone jack and Lightning dock assembly with the screw holes. Yous can also lay the adhesive on the right side of the dock at this time and re-connect the cable to the logic board to ensure a skillful fit.
- Once you lot're confident the dock is lined up, replace the 4 screws you removed earlier using your #000 Phillips screwdriver.
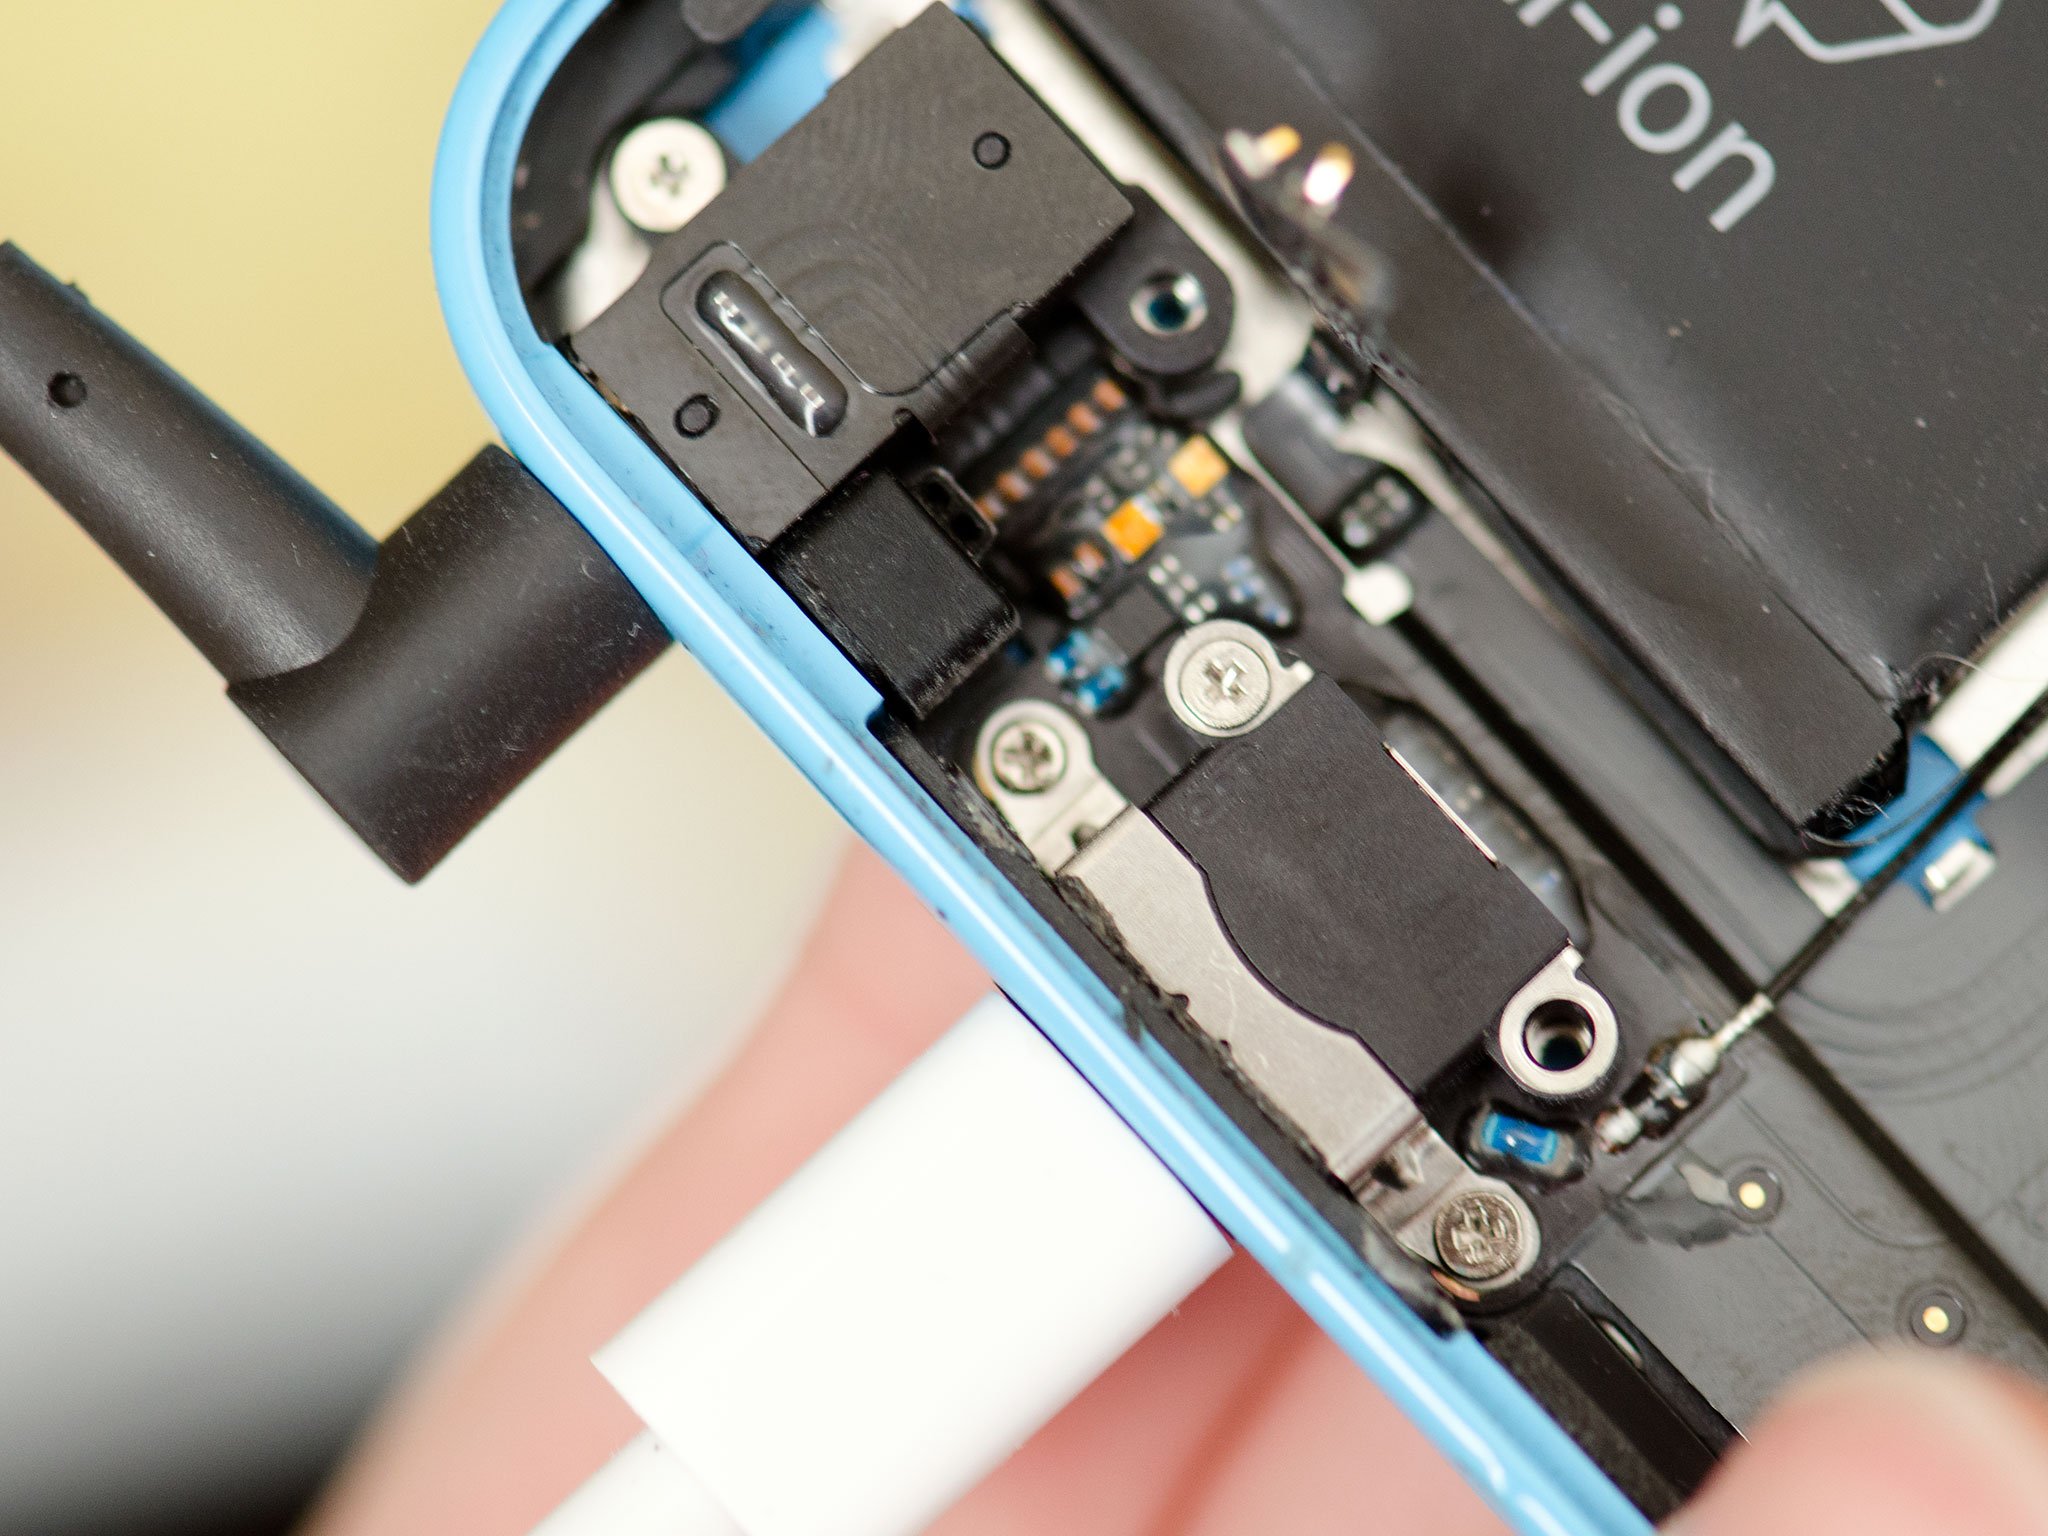
- At present is a good fourth dimension to plug in a charging cable and a pair of headphones to ensure a good fit. If you can't push one or the other in all the way (or both), the dock is lined up incorrectly and needs to be repositioned. Better to figure this out now instead of when you accept reassembled your entire iPhone.
- If everything is lined up and looks skillful, you can motility on to putting the loud speaker back in.


7. Put the loudspeaker assembly dorsum inside the iPhone
- In that location are contacts on the dock associates that must make contact with the loud speaker for it to function. Have note of those beneath and make sure you position your speaker accordingly.
- One time the speaker assembly is lined up, replace the iii screws you removed earlier in gild to secure it down.
- Replace the gold connector y'all removed before.


8. Re-connect the battery
- Re-connect the battery cable that you lot pried up earlier.
- Supplant the bombardment cable shield.
- Replace the two screws holding the battery cable downward using your #000 Phillips screwdriver.
ix. Re-connect the display assembly
- Carefully reconnect the three cables running from the display assembly to the logic board.
- Reposition the metal shield that sits over the three cables and replace the 4 screws that hold it in place, remembering where each one came from — they are all different sizes.
- Line up the top of the screen carefully and make note of the teeth that line up to the top of your iPhone 5c's frame. Once the top of the brandish is lined up, carefully snap downwards the remainder by moving your fingers along the edge.
ten. Replace the security screws on each side of the dock connector
Once you are confident that the display is seated correctly again, use your security screwdriver in order to supervene upon the two screws on either side of the dock connector.
11. Test the new Lightning dock assembly
After your iPhone 5c is fully assembled, turn information technology back on. Hither are some things you lot should exercise in lodge to fully test the new Lightning dock:
- Ensure your iPhone 5c charges as it should
- Play music through the headphones
- Test volume control and skip rail functions through the headphones
- Examination the loudspeaker since we removed it by either taking a call on your speaker or play music
- Ensure your iPhone 5c does not get also warm when charging it, if information technology does, remove the replacement dock immediately and have it replaced
If all of the to a higher place checks out okay, yous're good to go!
Questions?
Let us know below.

How To Repair Lightning Cable,
Source: https://www.imore.com/how-diy-replace-lightning-dock-iphone-5c
Posted by: broderickperney.blogspot.com
0 Response to "How To Repair Lightning Cable"
Post a Comment